
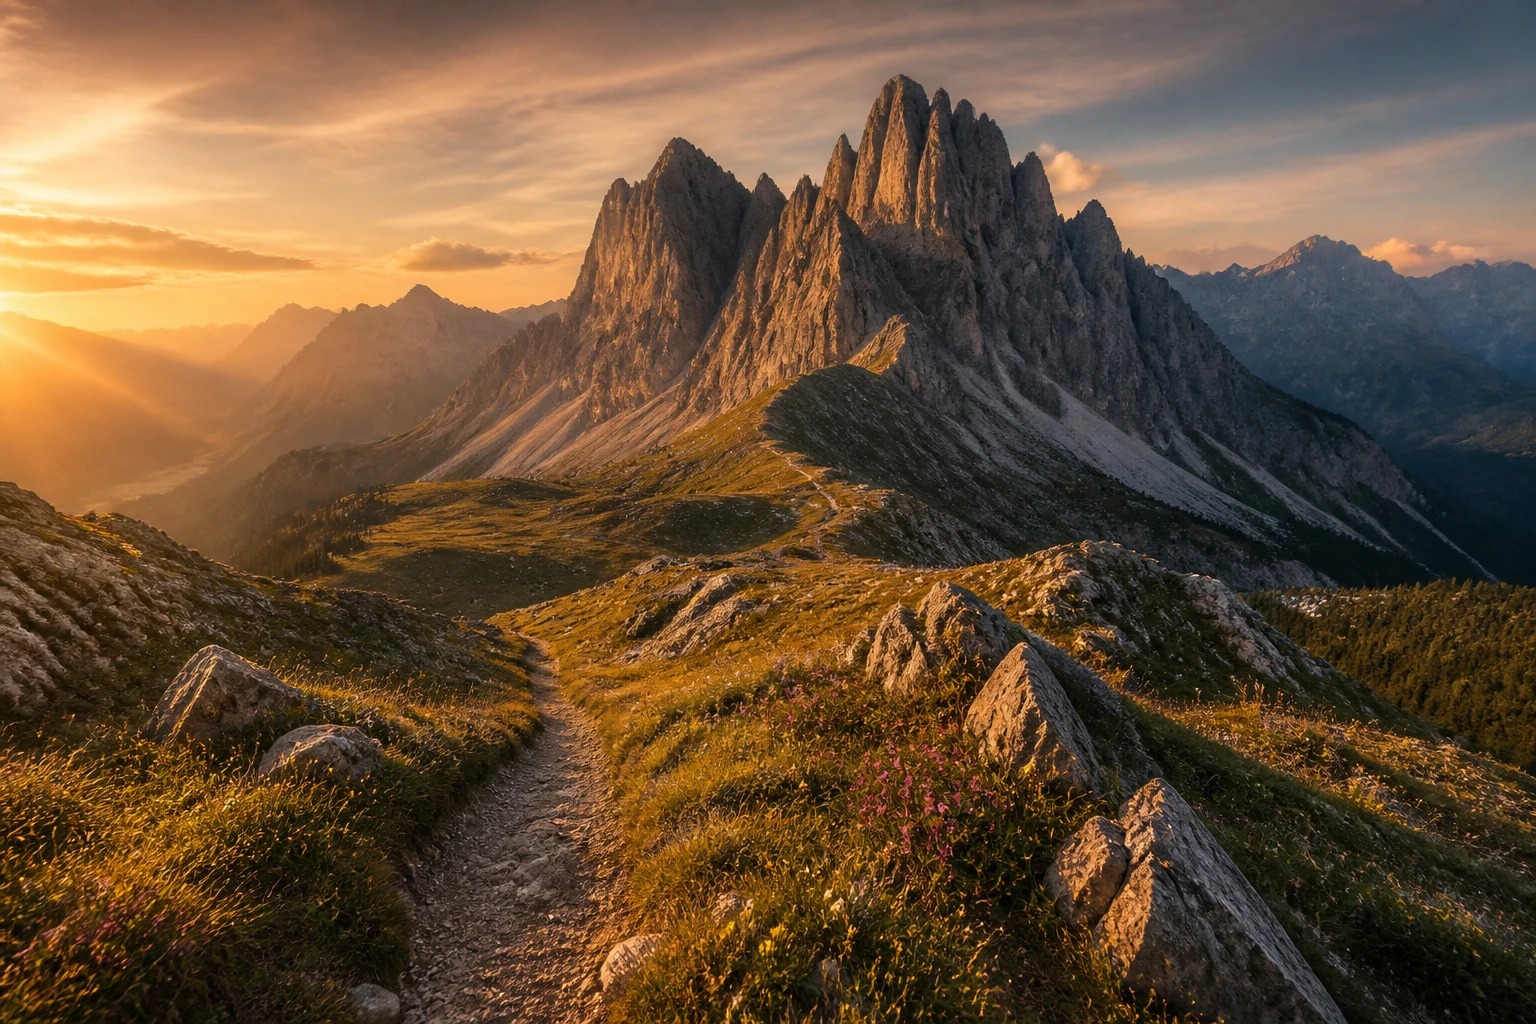
These tricks turn chilly peaks into warm, scroll-stopping shots. Ready to elevate your mountain photography game with real, doable steps? Let’s dive in and make every frame feel epic.
1. Chase the Light, Not the Gloom
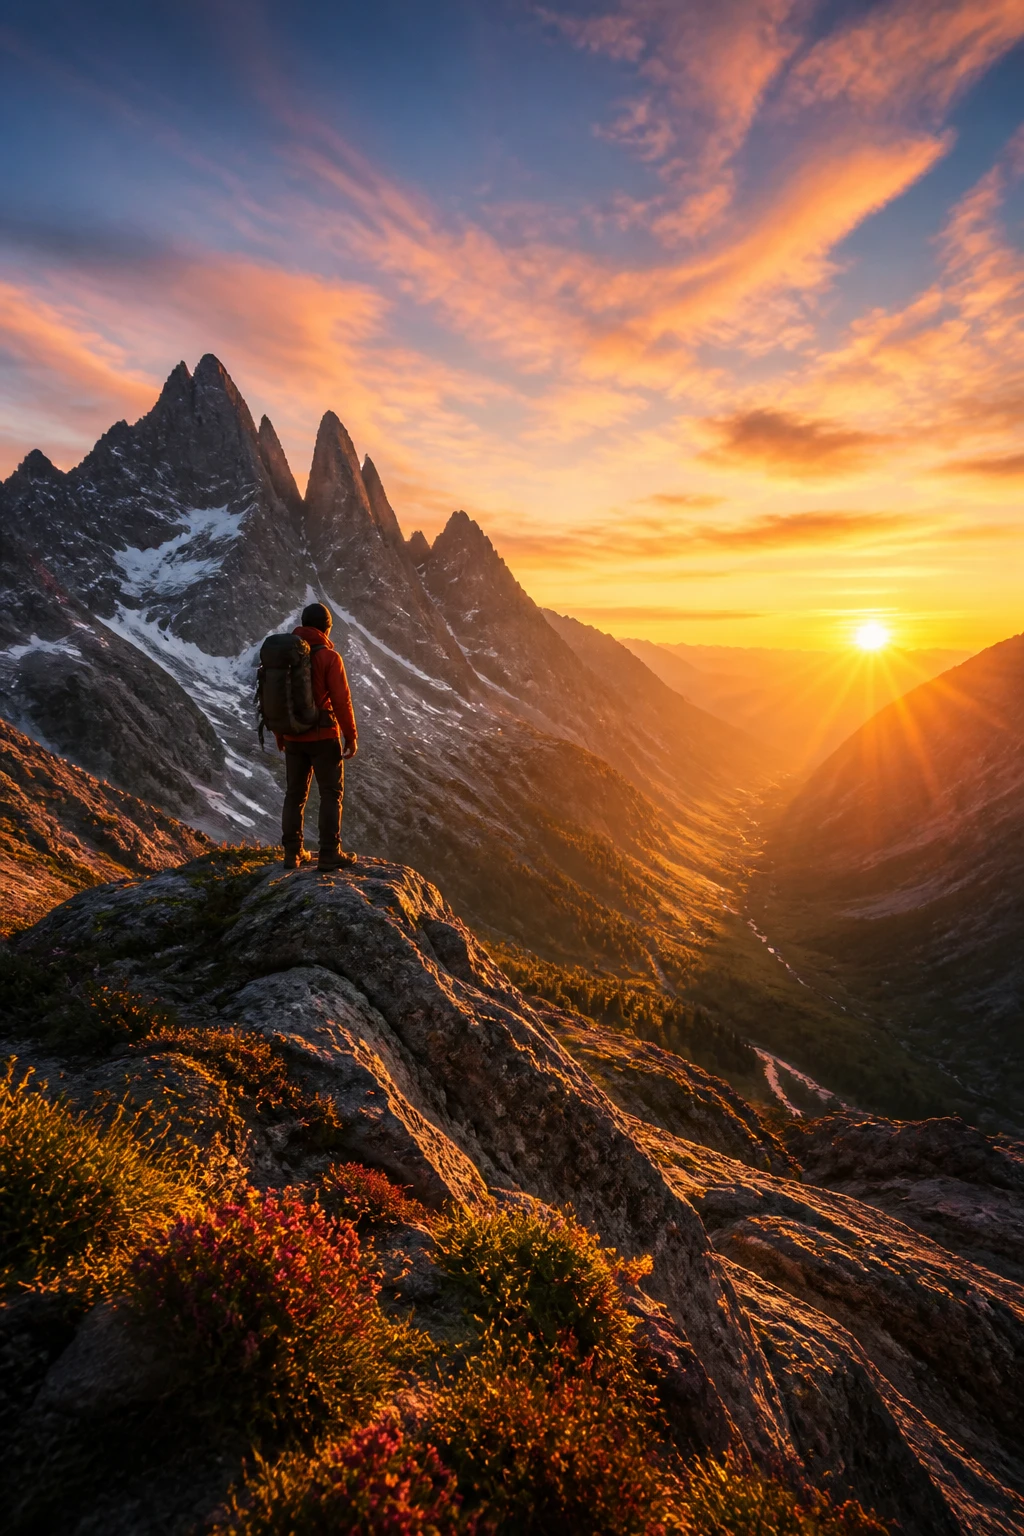
Sunrise and golden hour are your best friends when mountains wear their best colors. Don’t wait for perfect weather—use the light you’ve got to its full potential.
Key ideas:
- Watch for long shadows that reveal texture
- Move with the sun to keep subjects lit and dramatic
- Bracket exposures to capture both sky and foreground
When you nail the light, textures pop and skies glow. Use that to tell a story about the landscape and your mood in the moment.
2. Compose with the Rule of Thirds, Then Break It Deliberately
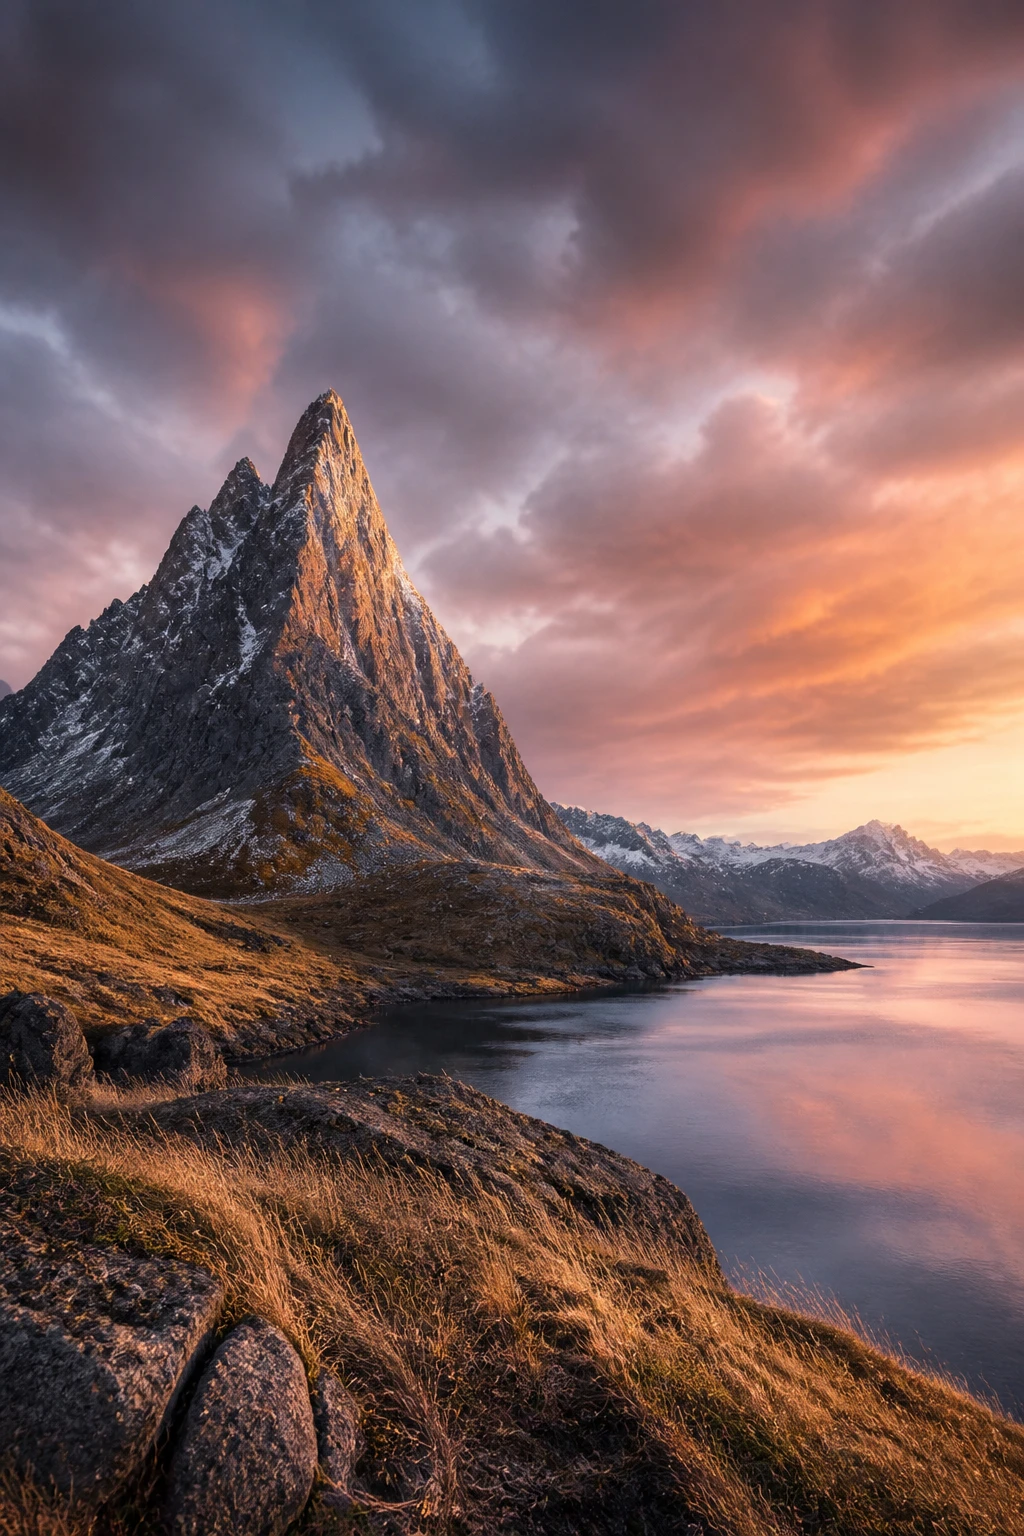
Rule of thirds is your friend, but mountains love bold moves. Place peaks off-center and let negative space breathe to create drama.
Why it’s awesome:
- Guides the viewer’s eye toward the most interesting peak
- Gives you room for dramatic skies or foreground detail
Tip: shoot multiple compositions—classic and edgy—and pick later. Serious results require serious experimentation, IMO.
3. Use Foreground Interest to Add Depth
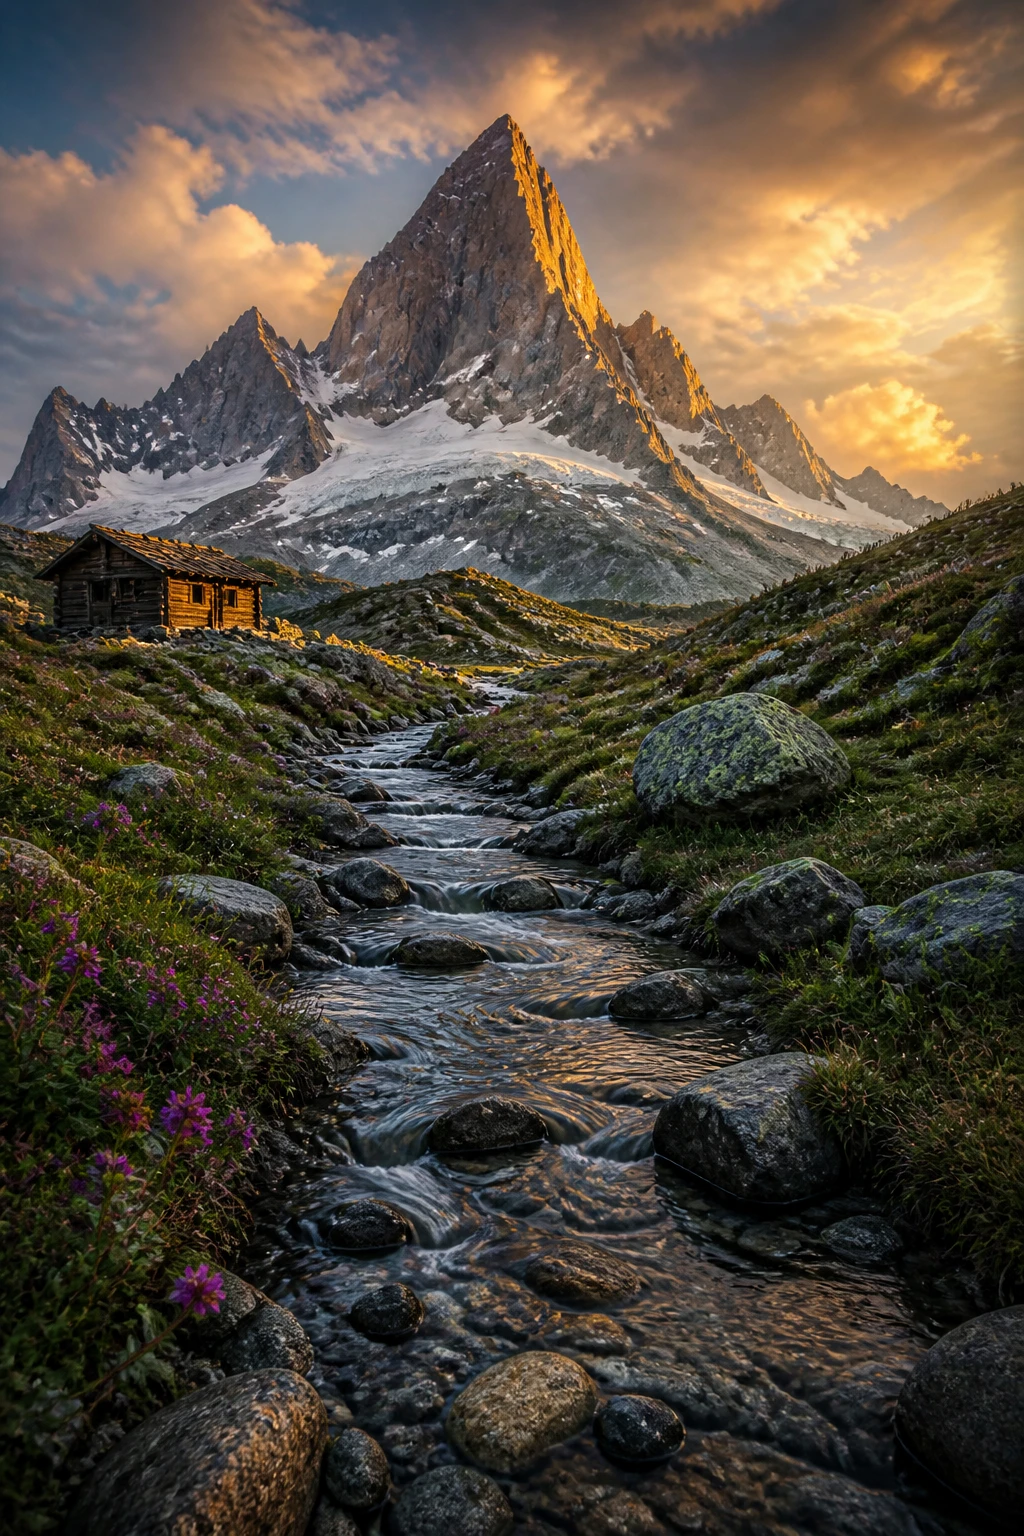
Foreground elements are your secret sauce for depth. Rocks, flowers, or a winding path draw viewers into the scene and lead their eye upward to the summit.
What to try:
- Include a leading line like a stream or ridgeline
- Place a small object in the lower third to add scale
- Vary focal lengths to exaggerate distance
Benefits: more immersive shots that feel like you’re stepping into the moment. Trust me, foreground storytelling changes everything.
4. Master the Panorama Without Giving Your Gear a Heart Attack
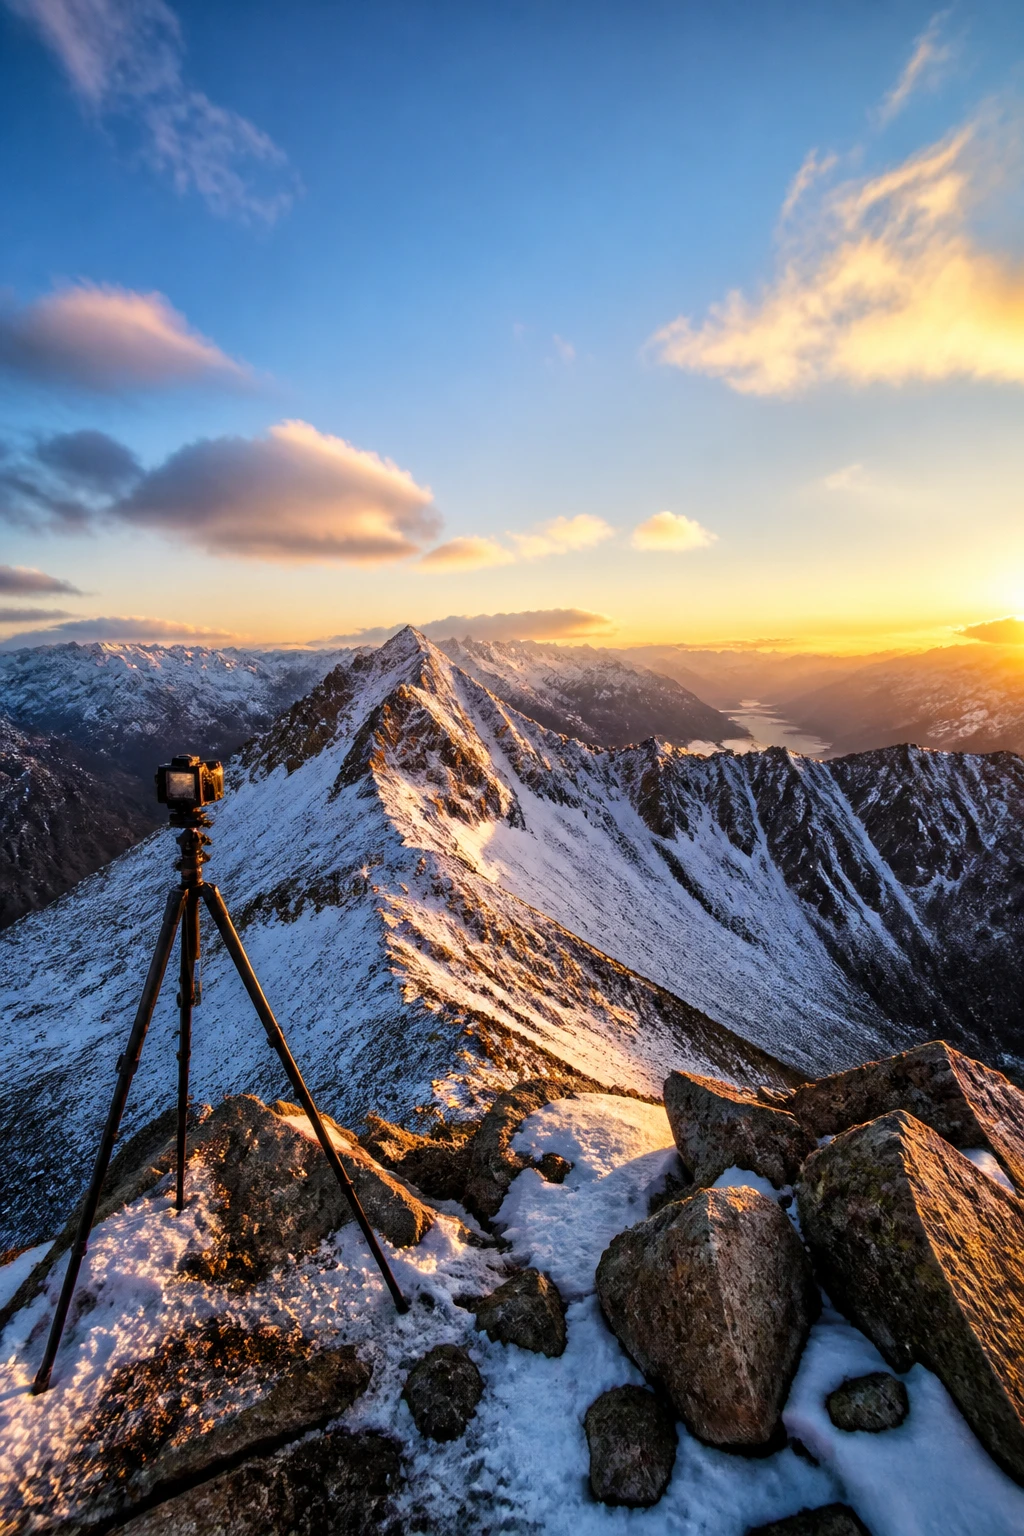
Panoramas capture the grand scale of mountains, but they can be fiddly. A steady hand and a plan keep stitching headaches at bay.
Key steps:
- Use a tripod and lock your exposure
- Overlap 20–30% between frames
- Shoot in RAW to preserve dynamic range
End result: a sweeping landscape that makes your audience feel the altitude. FYI, wide-angle panoramas can distort—keep an eye on edges during post.
5. Find the Quiet Moments in Busy Places
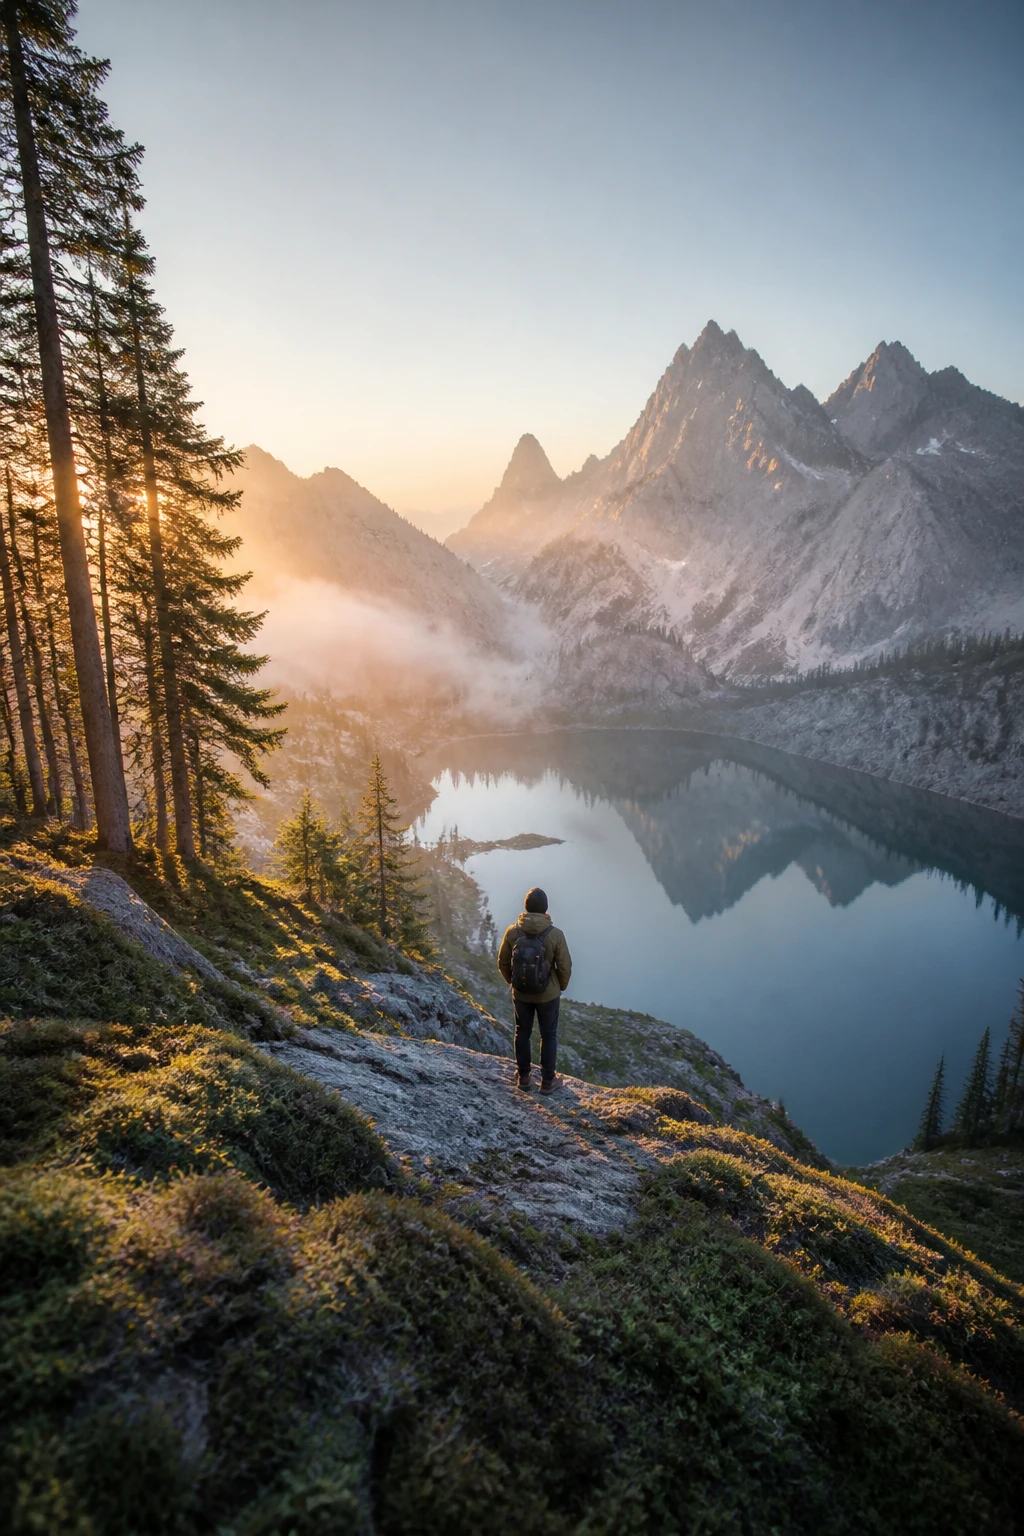
Crowds and cable cars are great for energy, but quiet moments are gold for mountains. Look for off-peak trails, viewpoints early morning, or late afternoon glow among pines.
What to look for:
- Reflections in alpine lakes
- Soft mist between ridges
- Solitary ridgelines at dawn
These moments feel intimate and timeless, and they’re easier to frame than you think.
6. Embrace Texture: Rocks, Snow, and Clouds as Your Palette
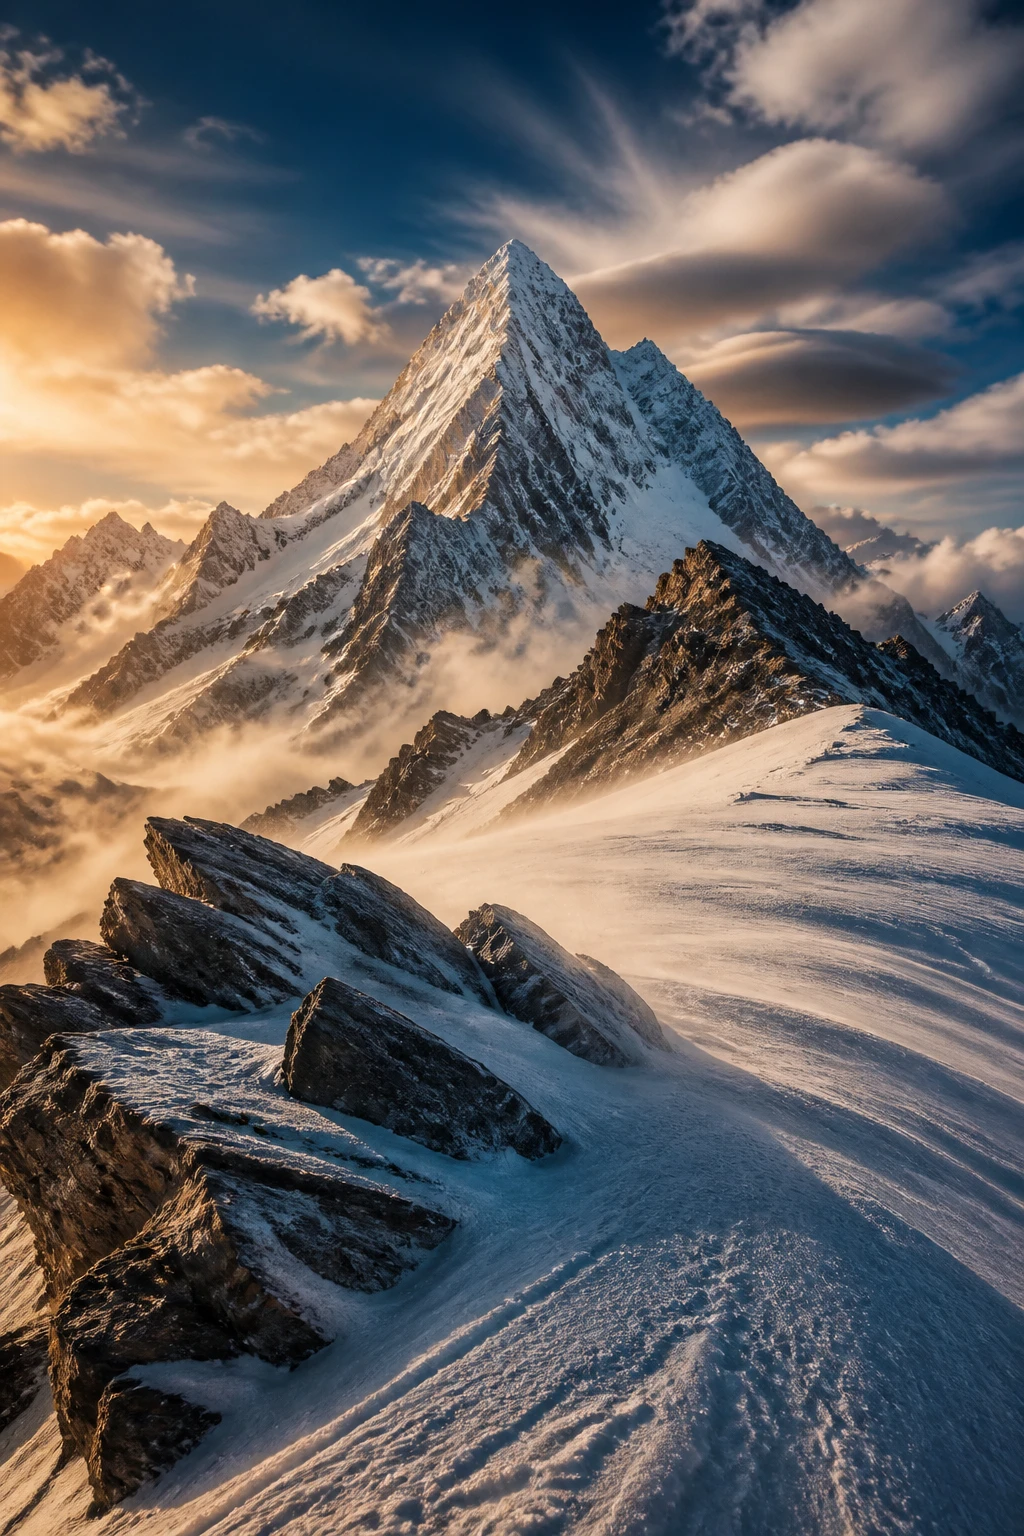
Texture brings tactile realism to your images. Snowy caps, rugged rock faces, and dramatic cloud layers transform a simple shot into something visceral.
How to capture texture:
- Use a mid to narrow aperture (f/8–f/11) for sharpness
- Shoot with a polarizing filter to cut glare
- Stack a few exposures to balance extreme contrasts
Texture is the heartbeat of mountain landscapes. It makes viewers feel the wind and hear the silence.
7. Include People for Scale and Story
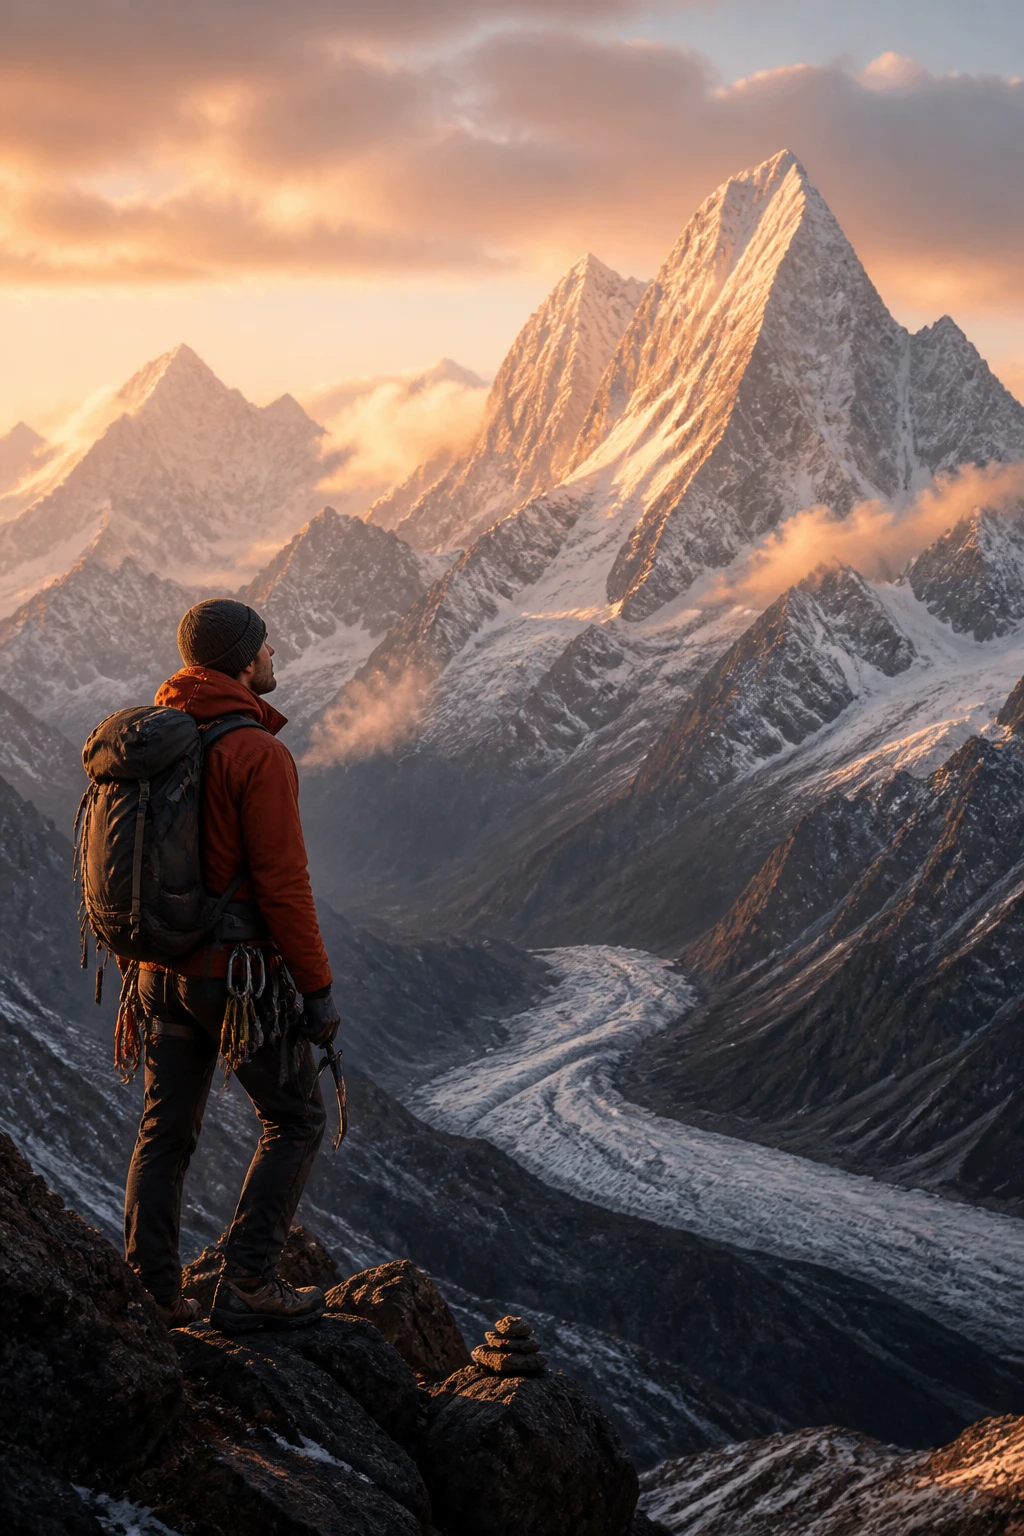
Mountains look epic on their own, but add a person for scale and a narrative arc. It humanizes the vastness without stealing focus.
Tips:
- Place a climber or hiker near the foreground for scale
- Use a longer lens to compress the landscape and emphasize magnitude
- Capture candid expressions of awe or effort
Bonus: this helps viewers imagine themselves in the scene. Seriously motivational.
8. Nail the White Balance in Snow Scenes
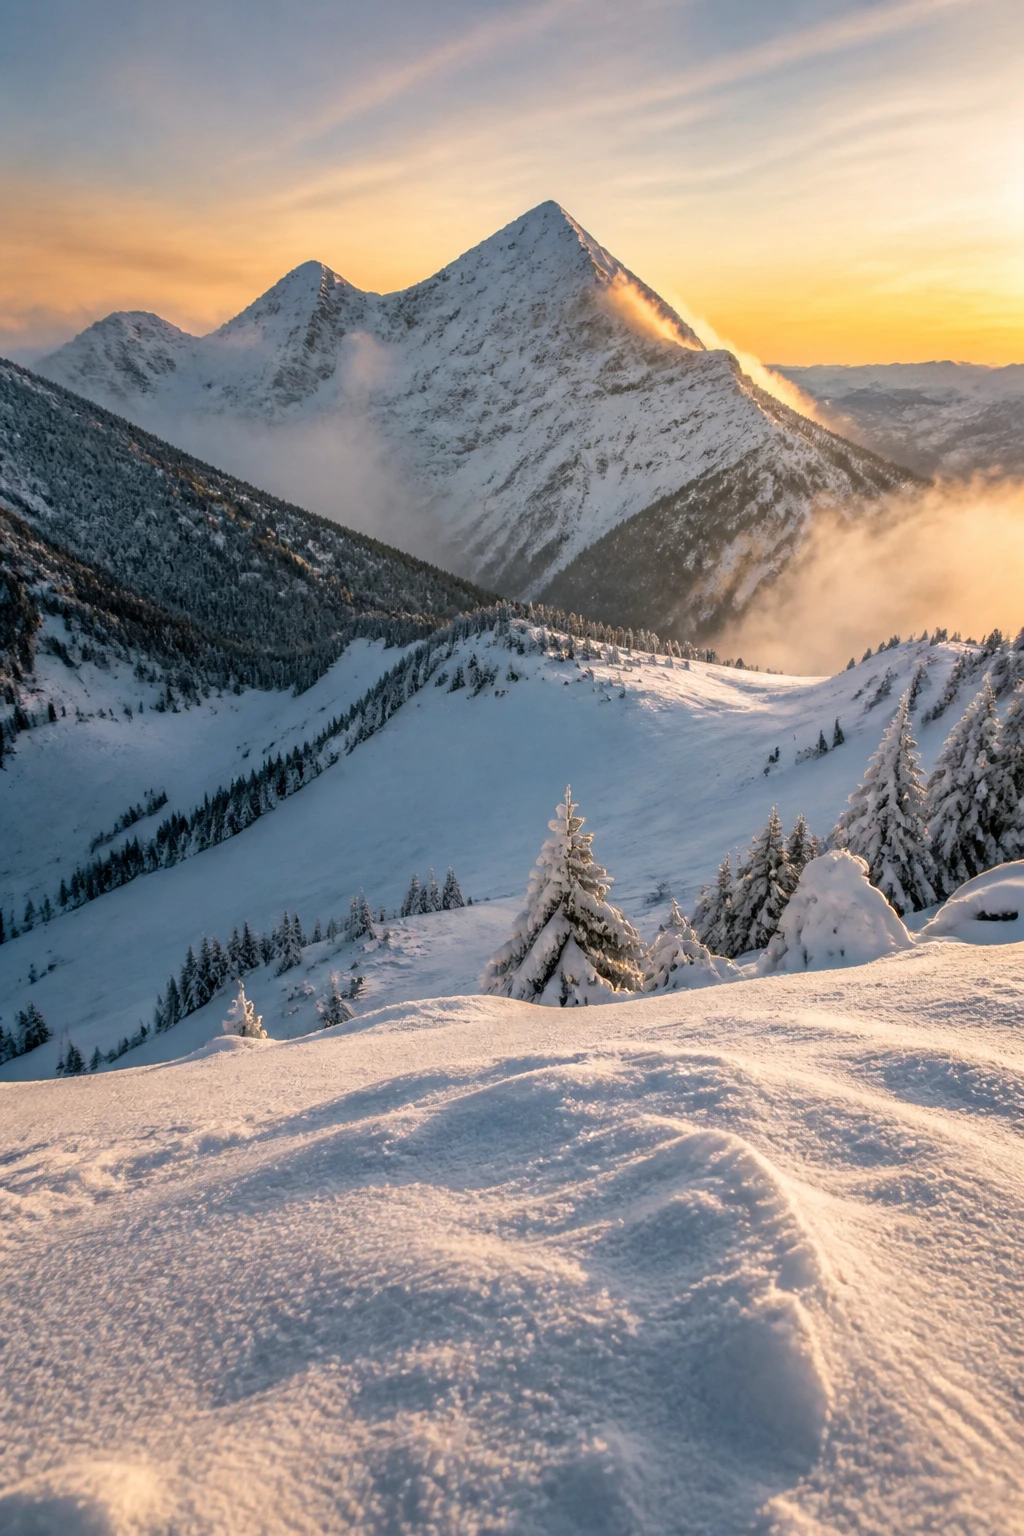
Snow loves to trick cameras, often turning scenes blue or gray. Get the color temperature right, and your whites stay crisp and believable.
Quick fixes:
- Set WB to Daylight or 5200K as a starting point
- Shoot RAW and dial in color in post
- Protect highlights to avoid blown-out skies
Better color equals stronger impact. It’s like wearing the right coat in a cold mountain morning.
9. Pack Light, Travel Fast, Shoot Smart
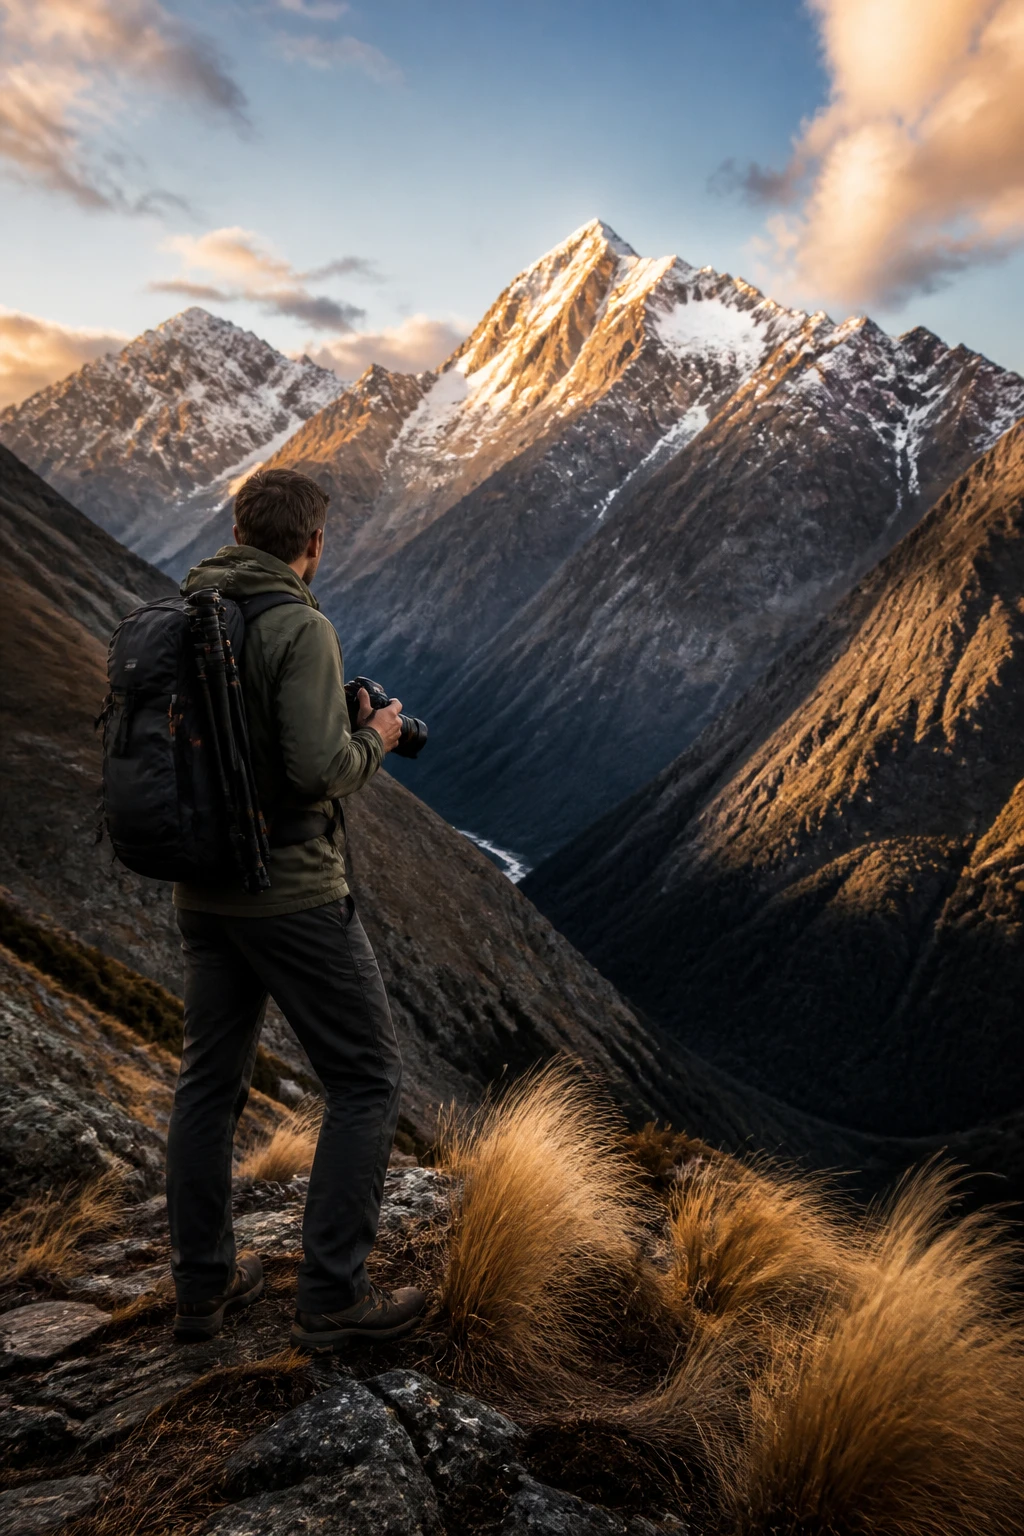
You don’t need a fortress of gear to capture stunning mountain landscapes. A small, well-rounded kit keeps you flexible and fearless on rough trails.
Recommended setup:
- Camera body with solid dynamic range
- Two lenses: a wide (14–24mm) and a mid (24–70mm)
- Polarizer, ND filter, spare batteries, and a sturdy tripod
Being light means you move faster, hike more, and still catch the magic. FYI, weight saved is energy gained on steep ascents.
10. Shoot Weather-Ready: Clouds, Rain, and Mist
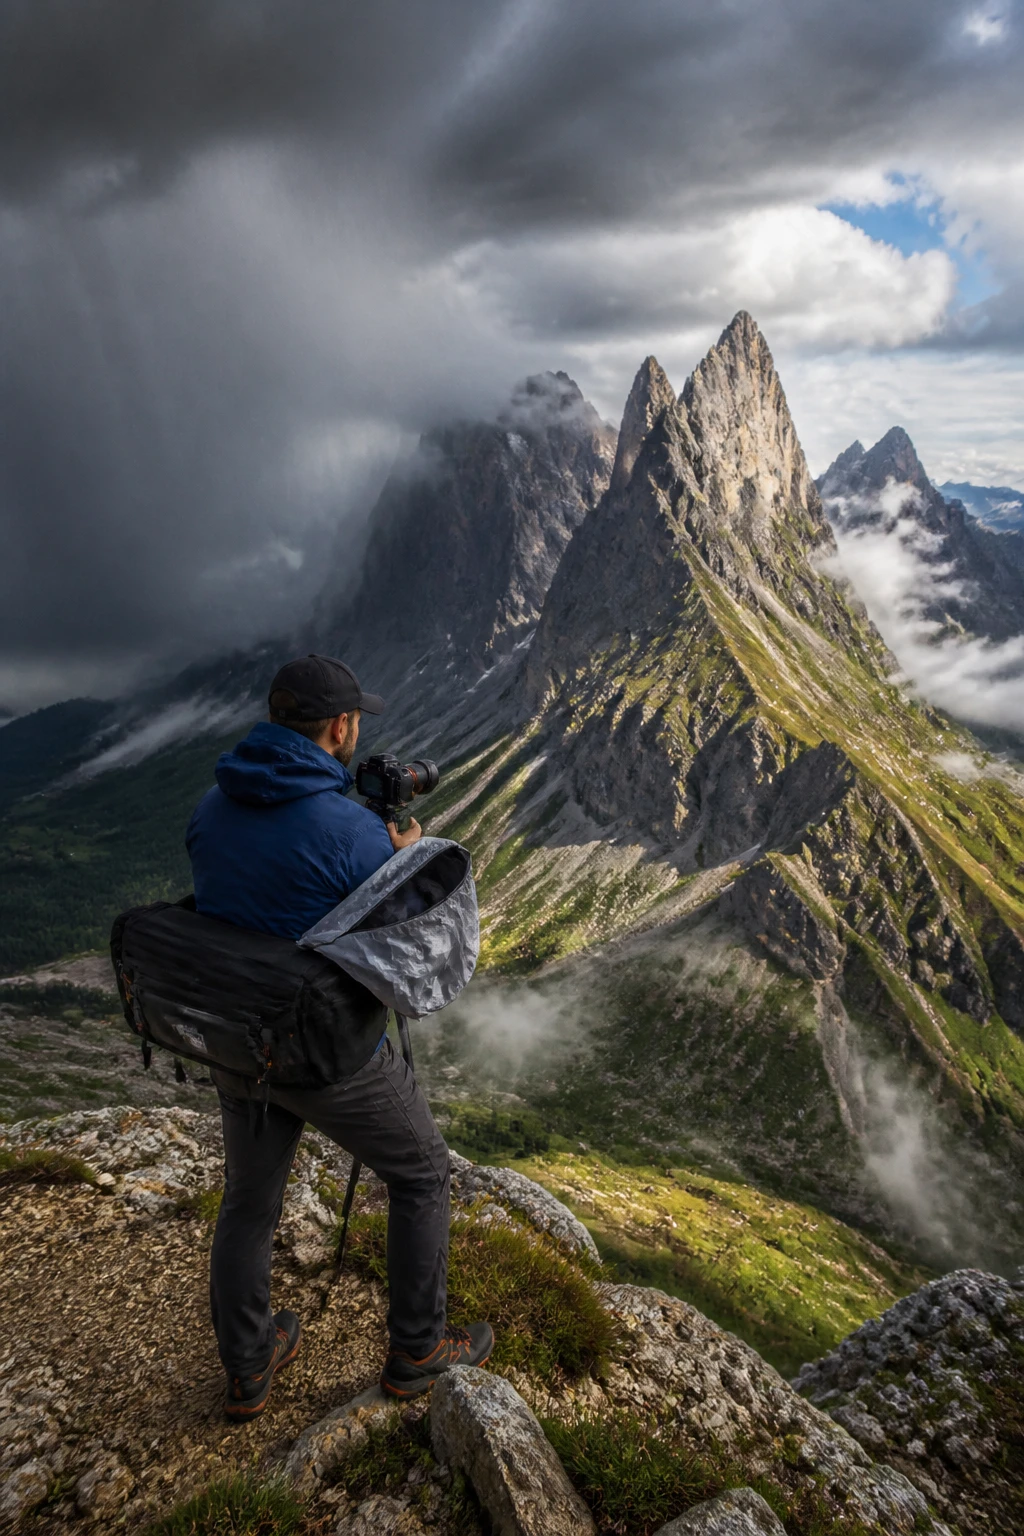
Mountain weather changes fast, and that drama is a gift. Learn to shoot in varying conditions and you’ll come away with standout images you can’t plan for in perfect weather.
What to do:
- Protect your gear with a rain cover or plastic bag
- Embrace mist for moody, painterly skies
- Bracket rain scenes to preserve contrast
When you chase the weather, you chase authenticity. Seriously, some of the best frames come from a quick downpour or a break in the clouds.
11. Post-Process Like a Mountain Ally
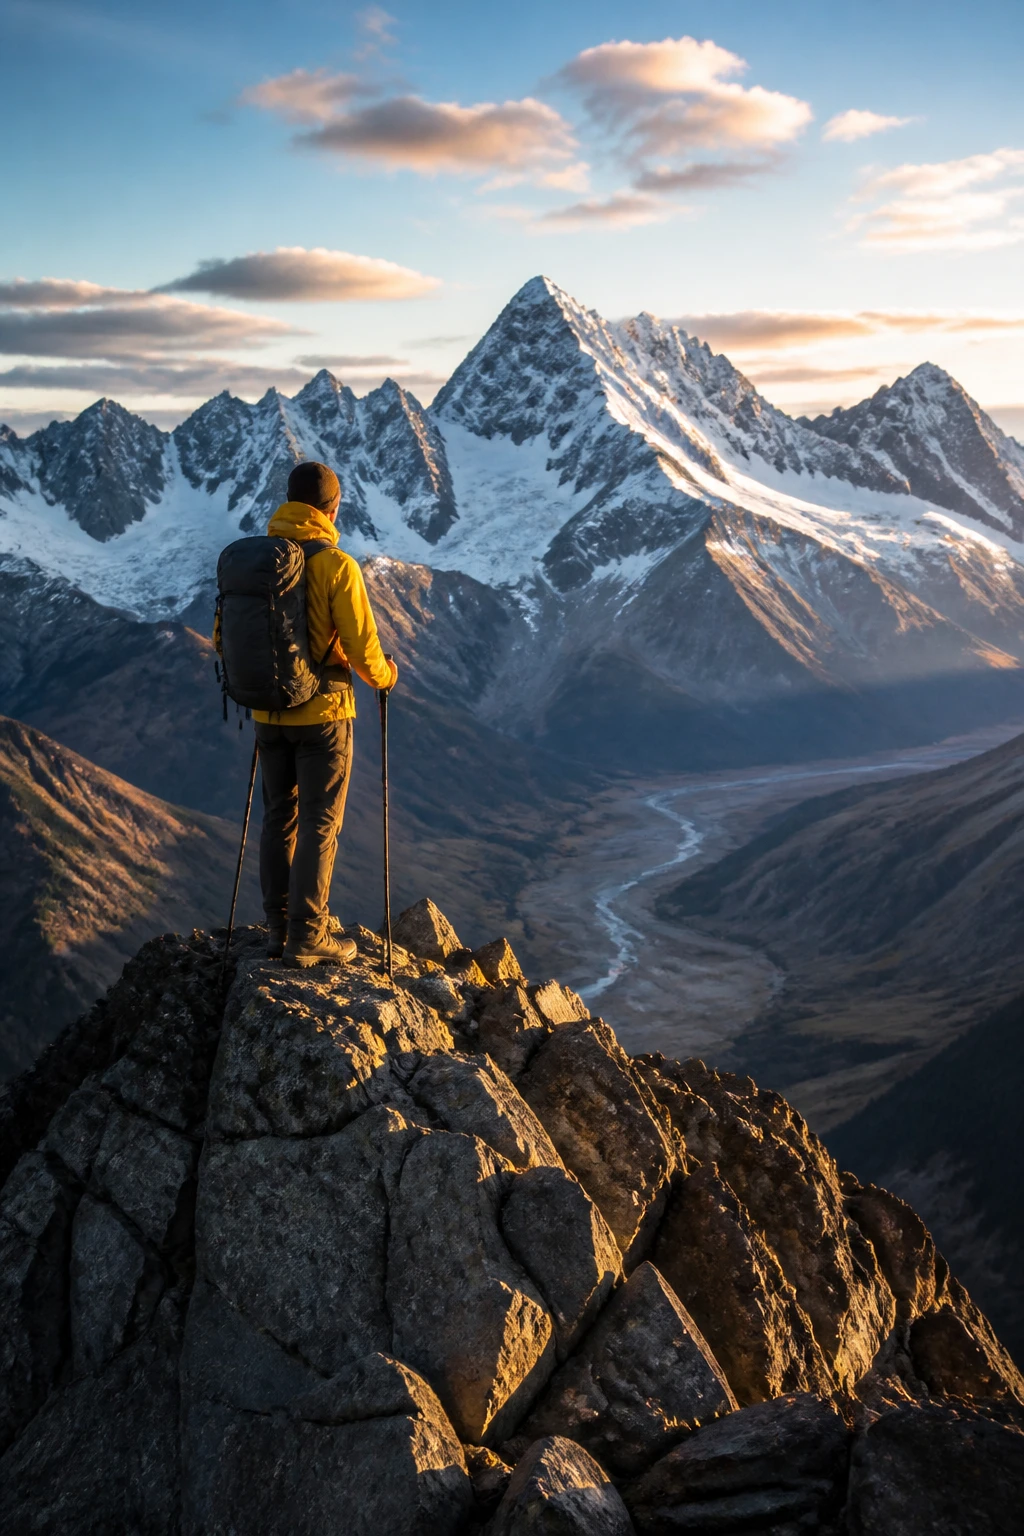
You’ll get better results by polishing rather than overhauling. Subtle tweaks can elevate a good shot into a legendary one.
Smart edits:
- Adjust contrast and clarity to add bite
- Boost texture selectively to highlight peaks
- Maintain natural color; avoid orange-sky saturation
In the end, post-processing is where your vision finishes. It’s the final brushstroke that makes viewers feel the altitude.
Go out there and test these ideas. Each hike is a new canvas, and your camera is ready to tell the mountain story with personality. Trust me, you’ll surprise yourself with how quickly your shots improve.
Now grab your pack, pick a peak, and start shooting. You’ve got this—and the mountains are waiting to see what you’ll create.