
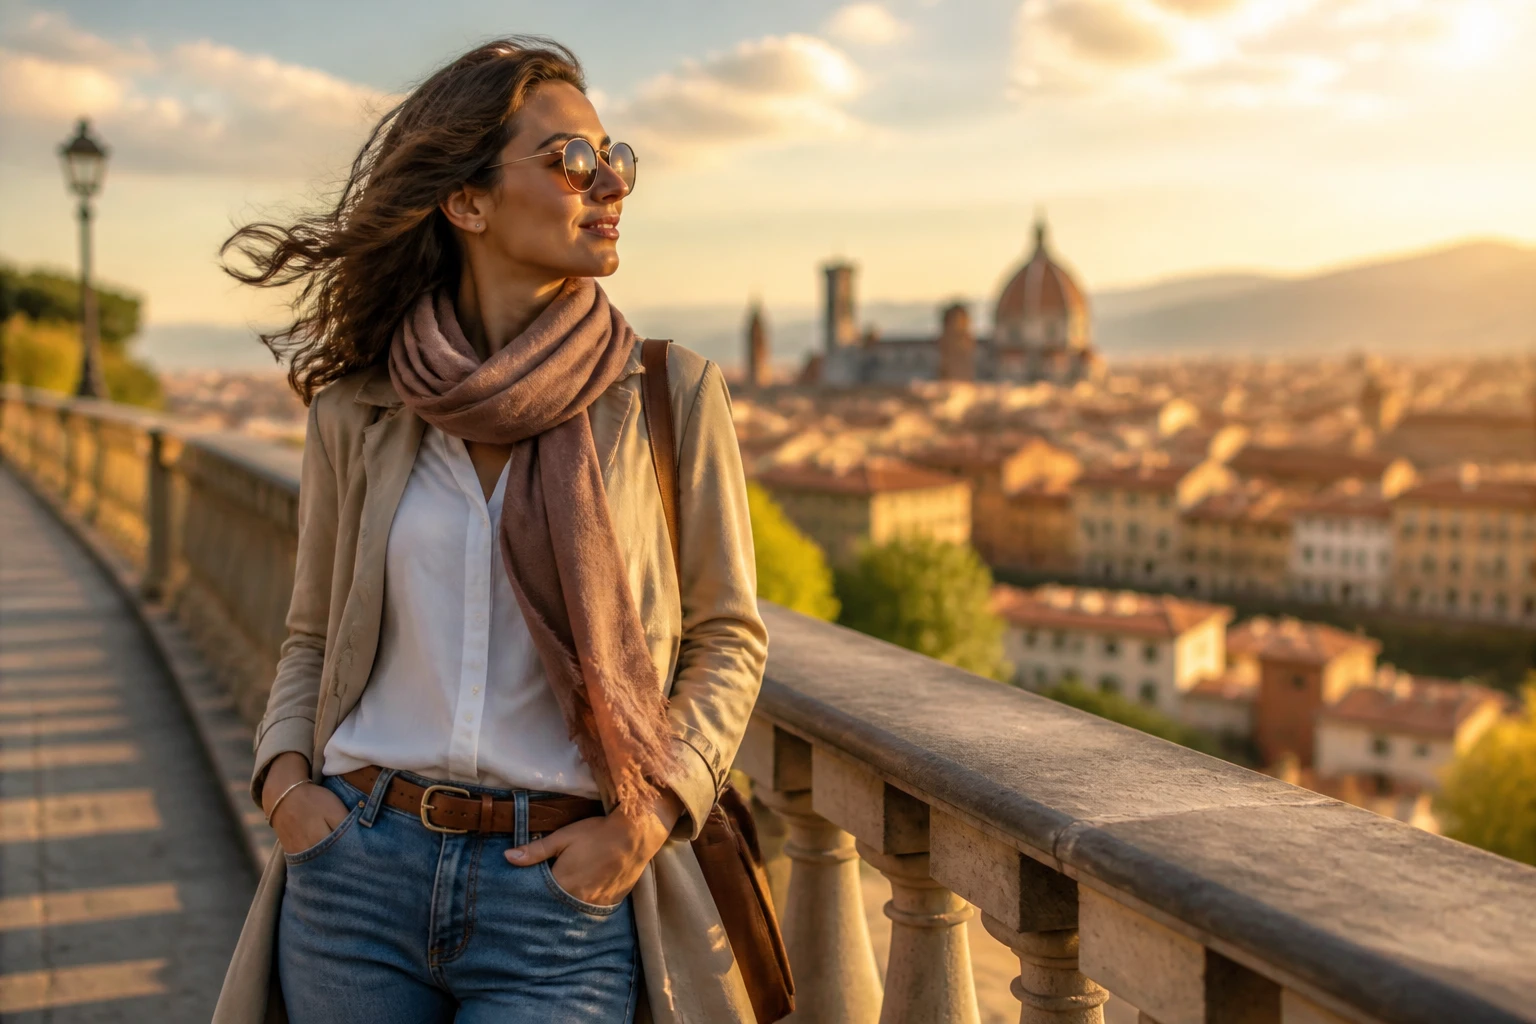
Say goodbye to stiff smiles and awkward angles. These standing poses keep you natural, in motion, and totally Instagram-ready without turning into a statue.
1. The Geo-Ready Stance
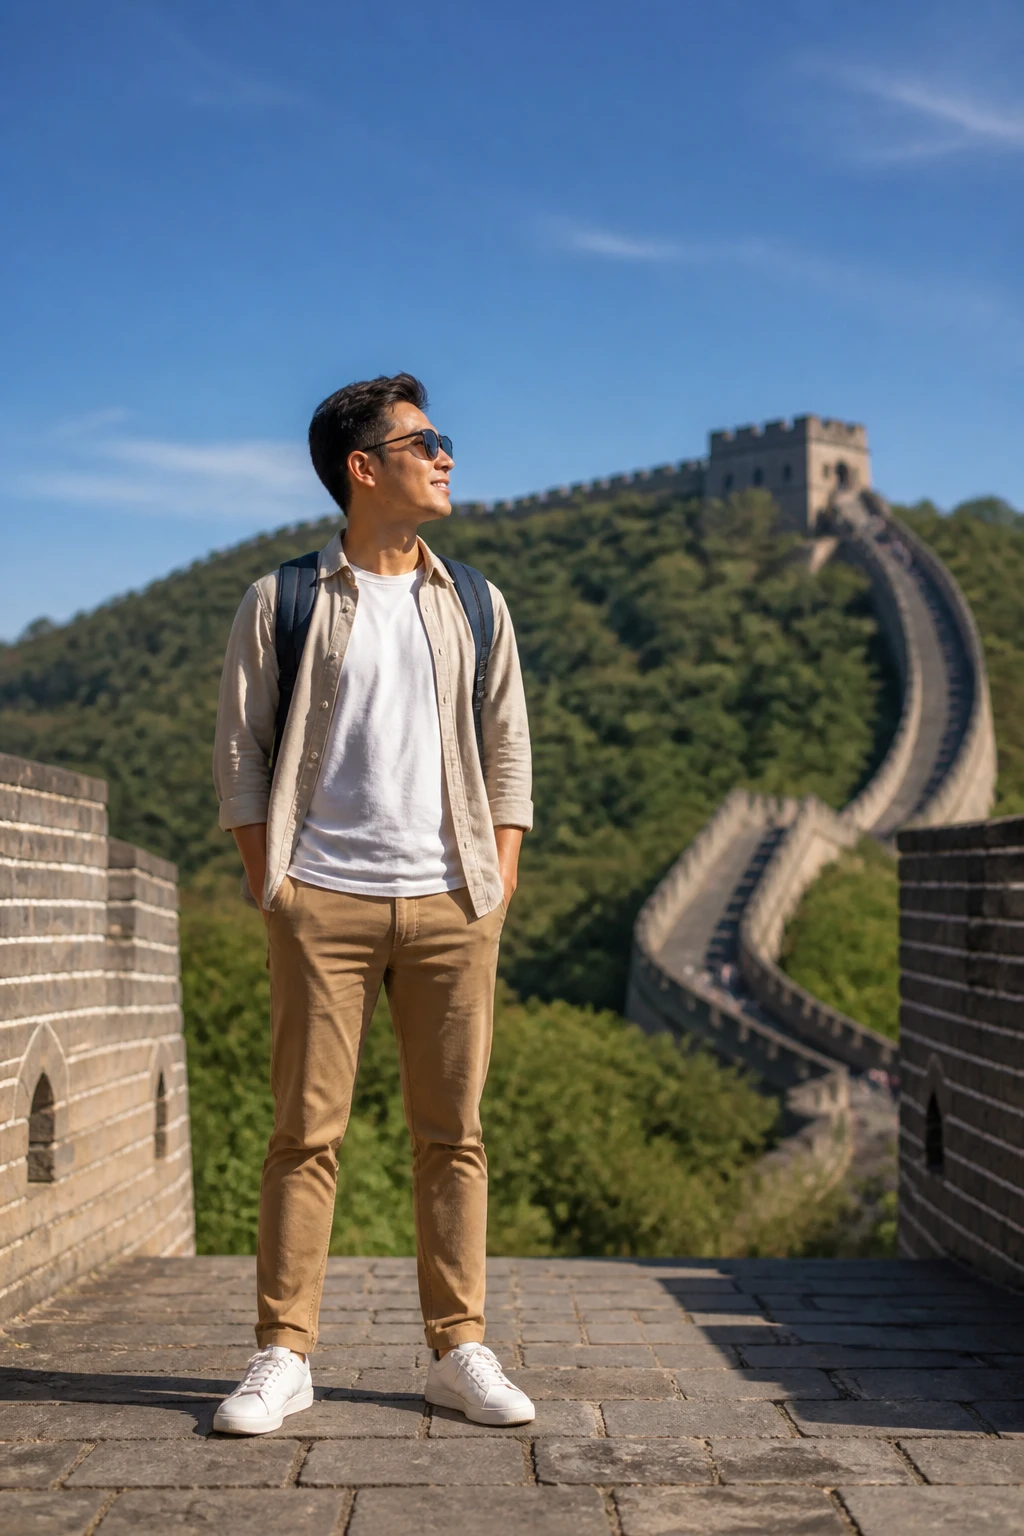
This pose highlights your destination with a simple line of silhouette and a little backdrop storytelling. You stay relaxed, and the camera loves clean lines.
Tips:
- Stand with feet shoulder-width apart, weight evenly distributed.
- Tilt chin slightly and look toward a landmark in the distance.
- Keep shoulders loose to avoid that coral statue vibe.
Benefit: It reads like a postcard moment and minimizes the “awkward” factor by giving your body a natural framework.
2. Step-Touch Snapshot
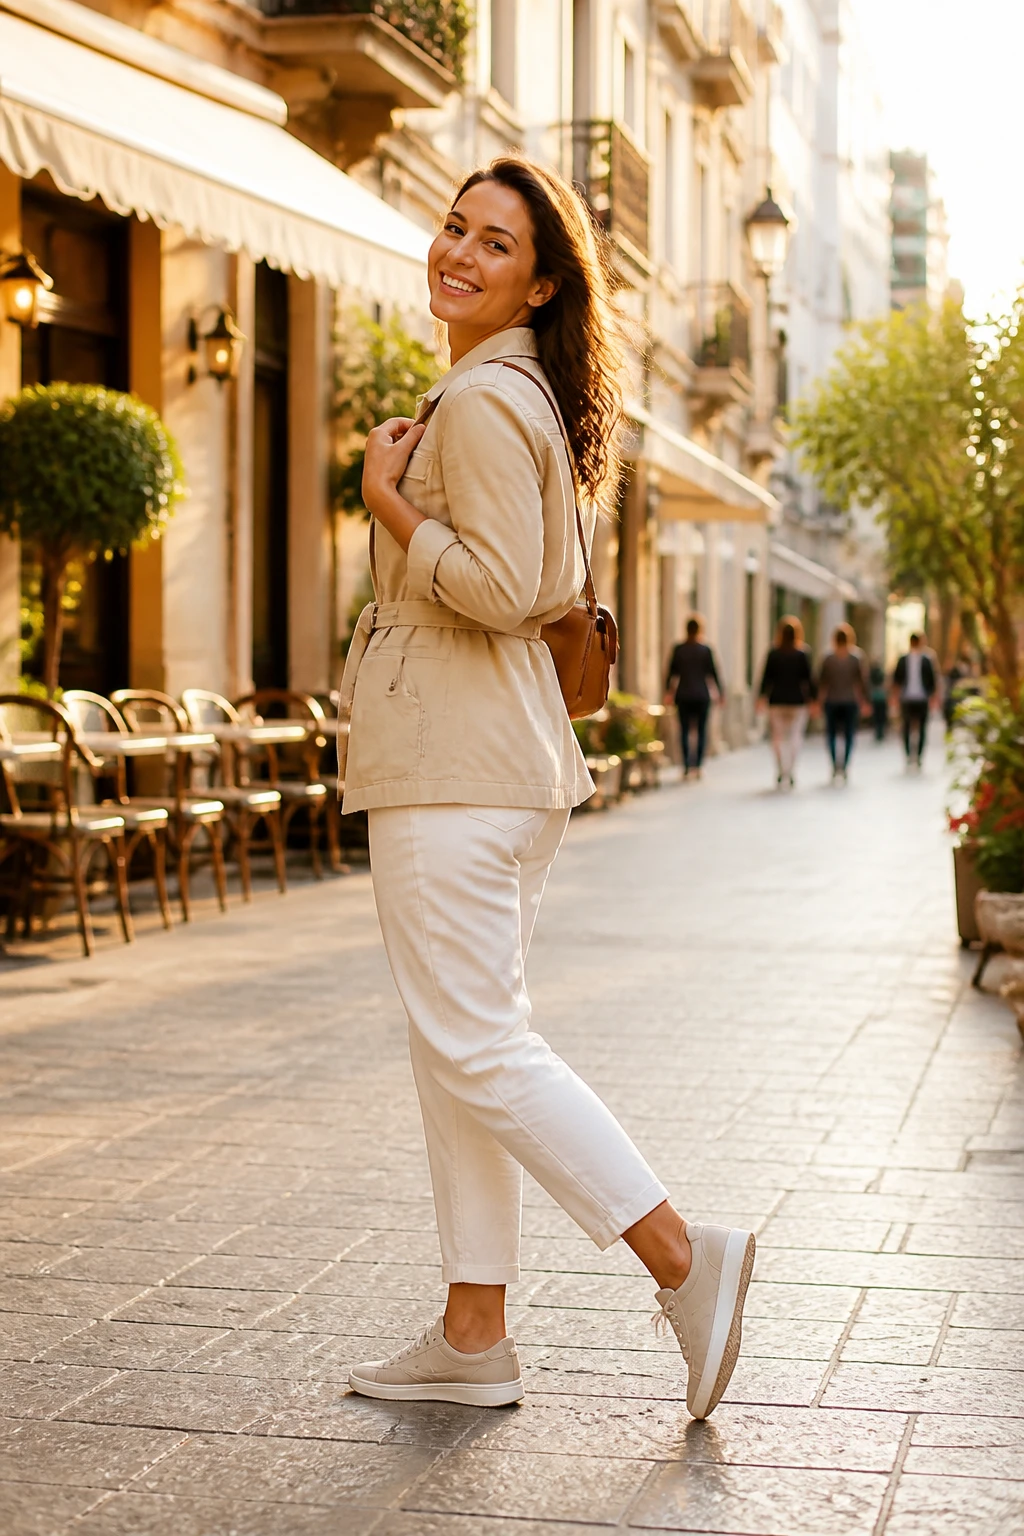
Move a foot forward, then touch the other foot behind in a natural step motion. This is easy, flattering, and looks candid even when you’re posing on purpose.
Key Points:
- Light weight on the forward foot, back foot relaxed.
- Face toward or away from the camera depending on the scene.
- Let the wind do part of the work with hair or scarf motion.
Benefit: Creates dimension without overthinking. You’ll feel more alive in the frame.
3. The Lean-In Laugh
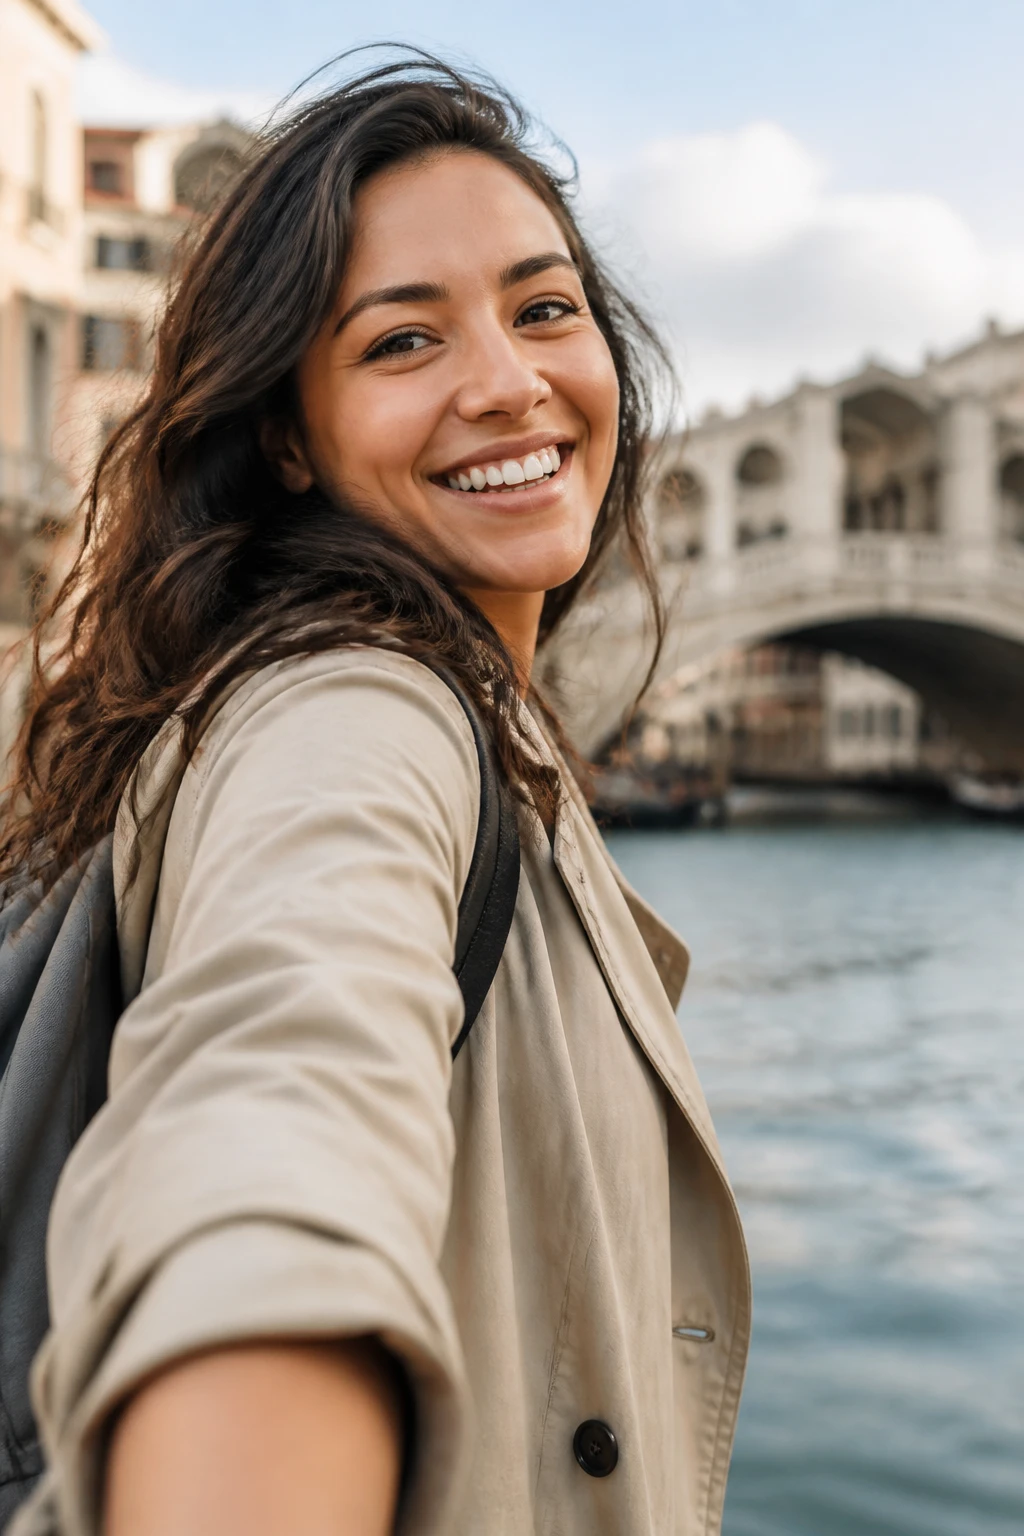
Lean slightly toward the camera as you smile or laugh. It creates intimacy and makes the shot feel spontaneous, not staged.
Tips:
- Keep one shoulder toward the lens and the other back a bit to avoid flat shoulders.
- Hold your pose for a beat or two to catch the right expression.
- Pair with a friend or a monument to amplify energy.
Benefit: Natural expression with a touch of playful energy. It’s the moment you remember from the trip.
4. The Wall Soft-Shoulder
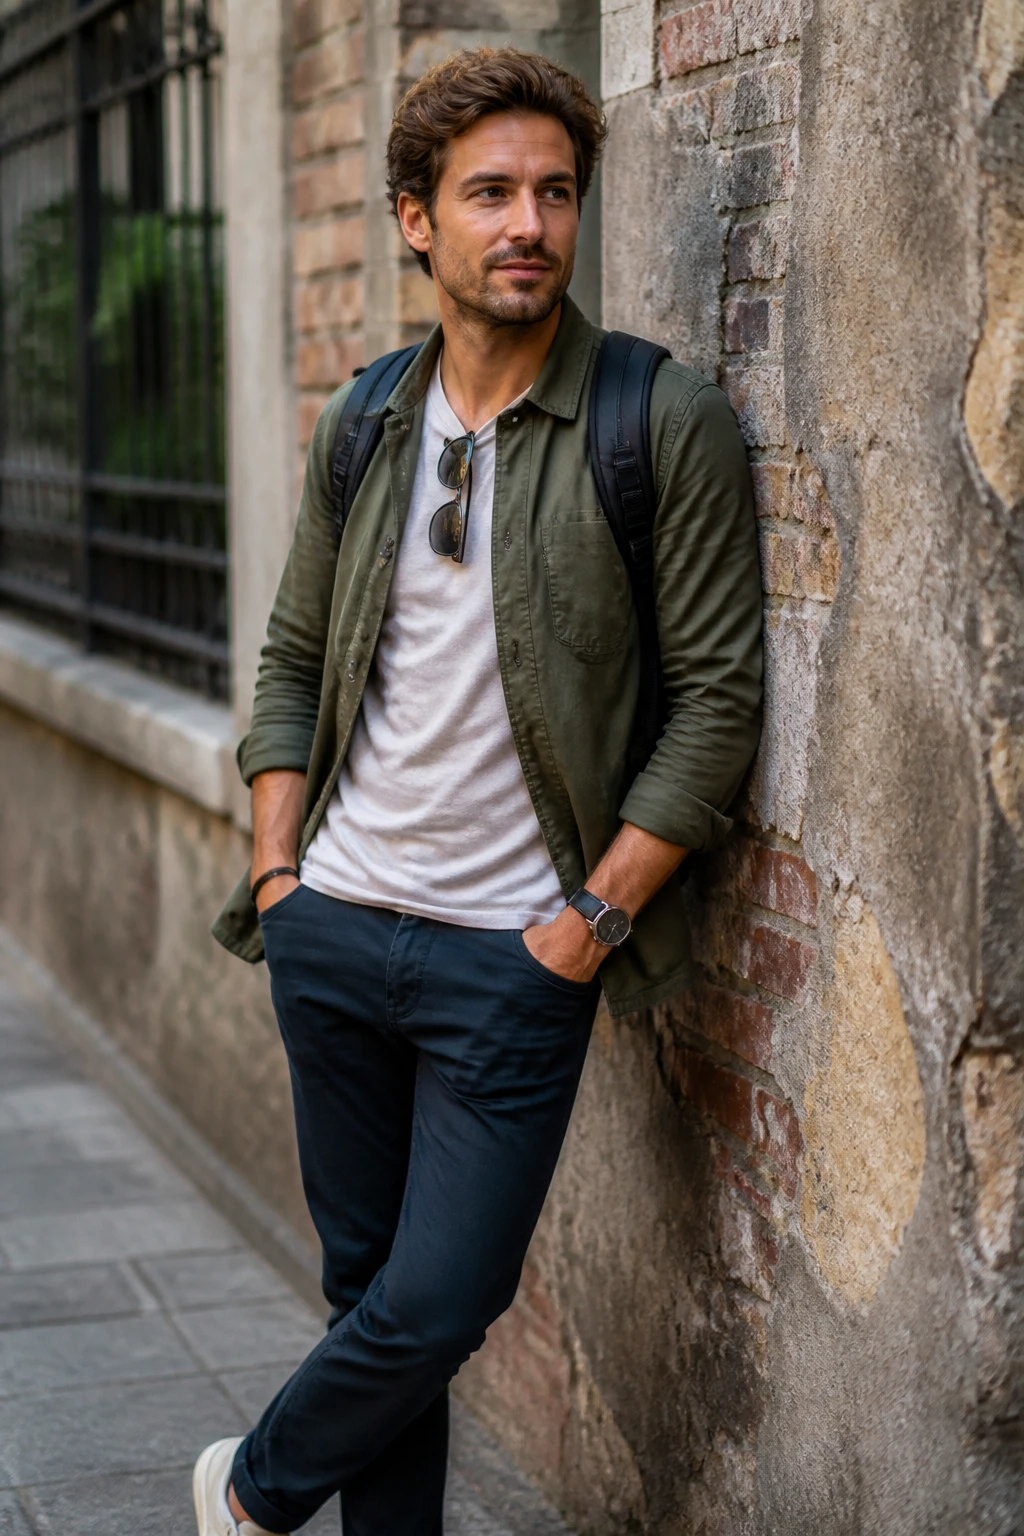
Lean lightly against a wall or railing, then shift your weight to one leg. This creates a casual, urban vibe without looking stiff.
Key Elements:
- One shoulder leaning, opposite foot forward.
- Relaxed jaw and a slight smile or smirk.
- Background texture adds interest without stealing focus.
Benefit: Effortless cool, especially in cityscapes or alleyways.
5. The Hand-Through-Hair Moment
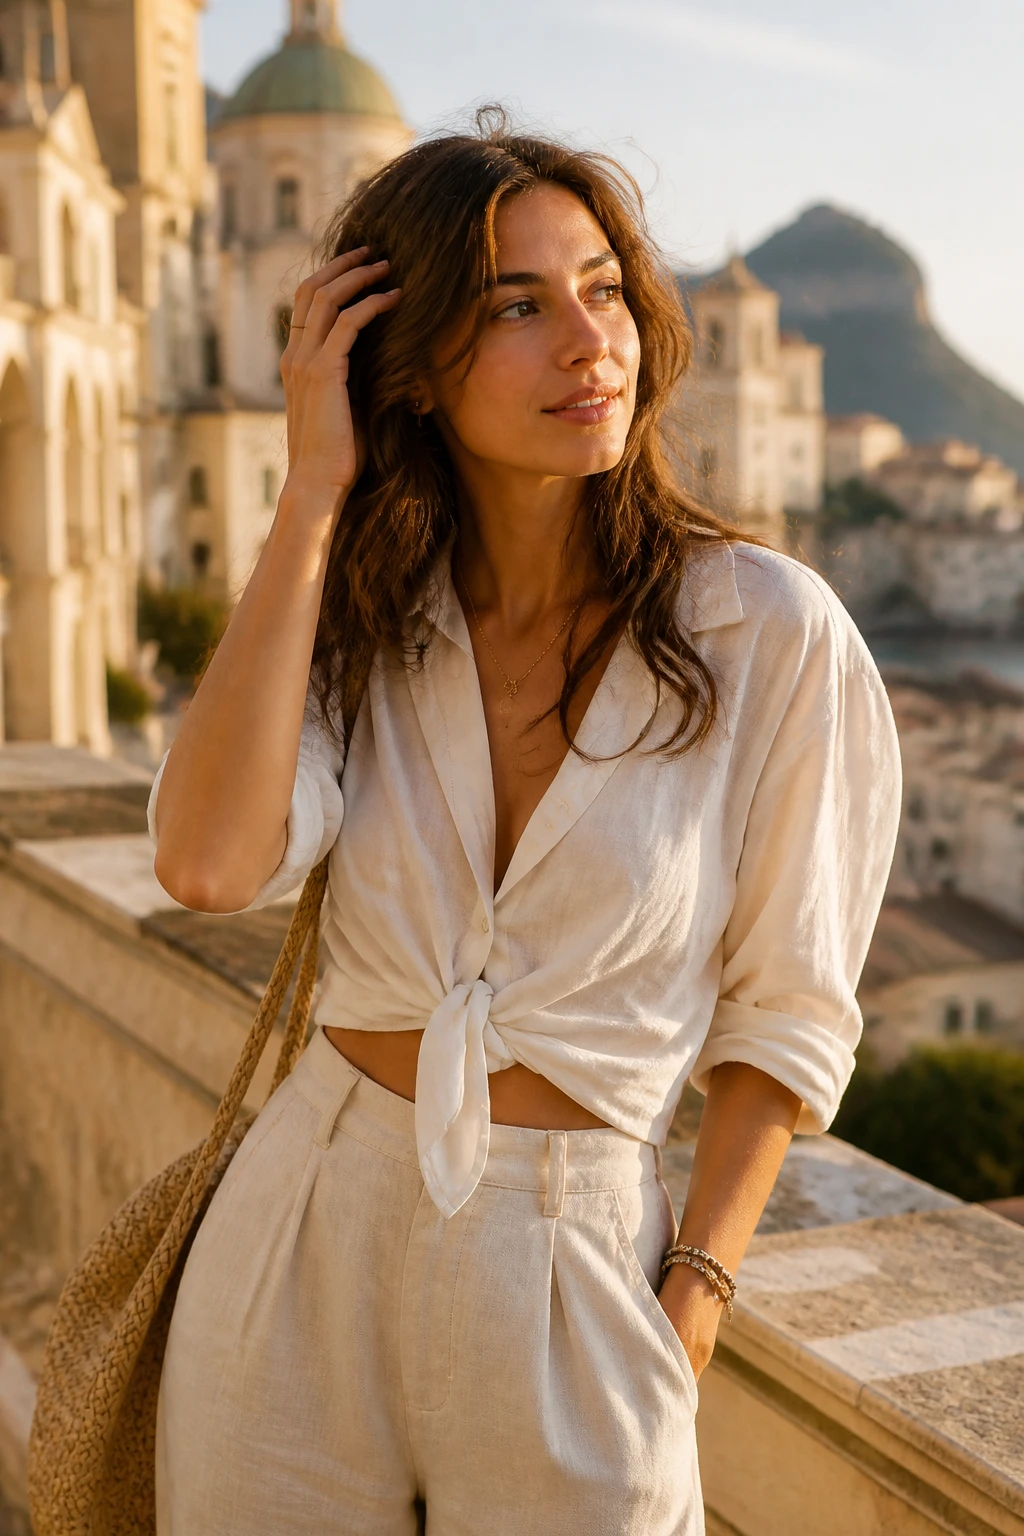
Let one hand hover near your hair to give a candid vibe without going full model. It reads relaxed and approachable.
Tips:
- Choose a wind-friendly moment so hair does the work for you.
- Avoid tugging; a light touch looks more natural.
- Keep other arm loose at your side or tucked in a pocket.
Benefit: Adds a touch of personality and drama without effort.
6. The Perspective Peek
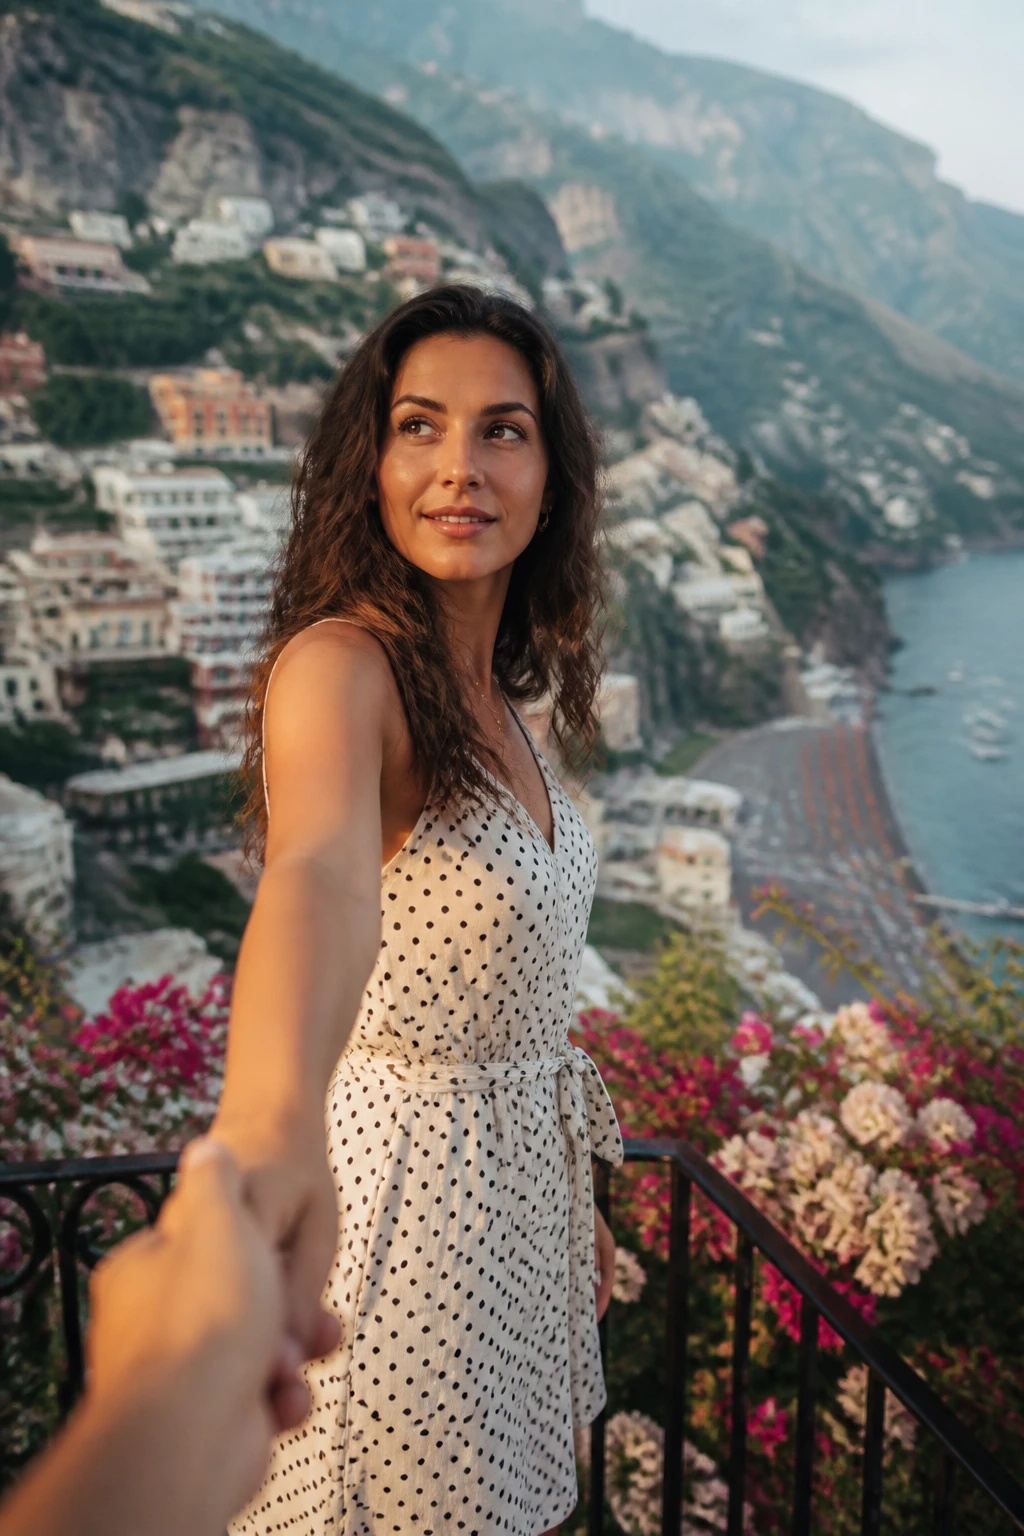
Turn your body about 45 degrees to the camera, then gaze into the distance or at a point of interest. It elongates the torso and flatters posture.
Tips:
- Chin slightly down to avoid double chin in certain angles.
- Extend the leading arm toward the lens for depth.
- Use a scenic foreground element to frame your figure.
Benefit: A flattering three-quarter pose that still looks alive and curious.
7. The Foot-Plant Power Pose
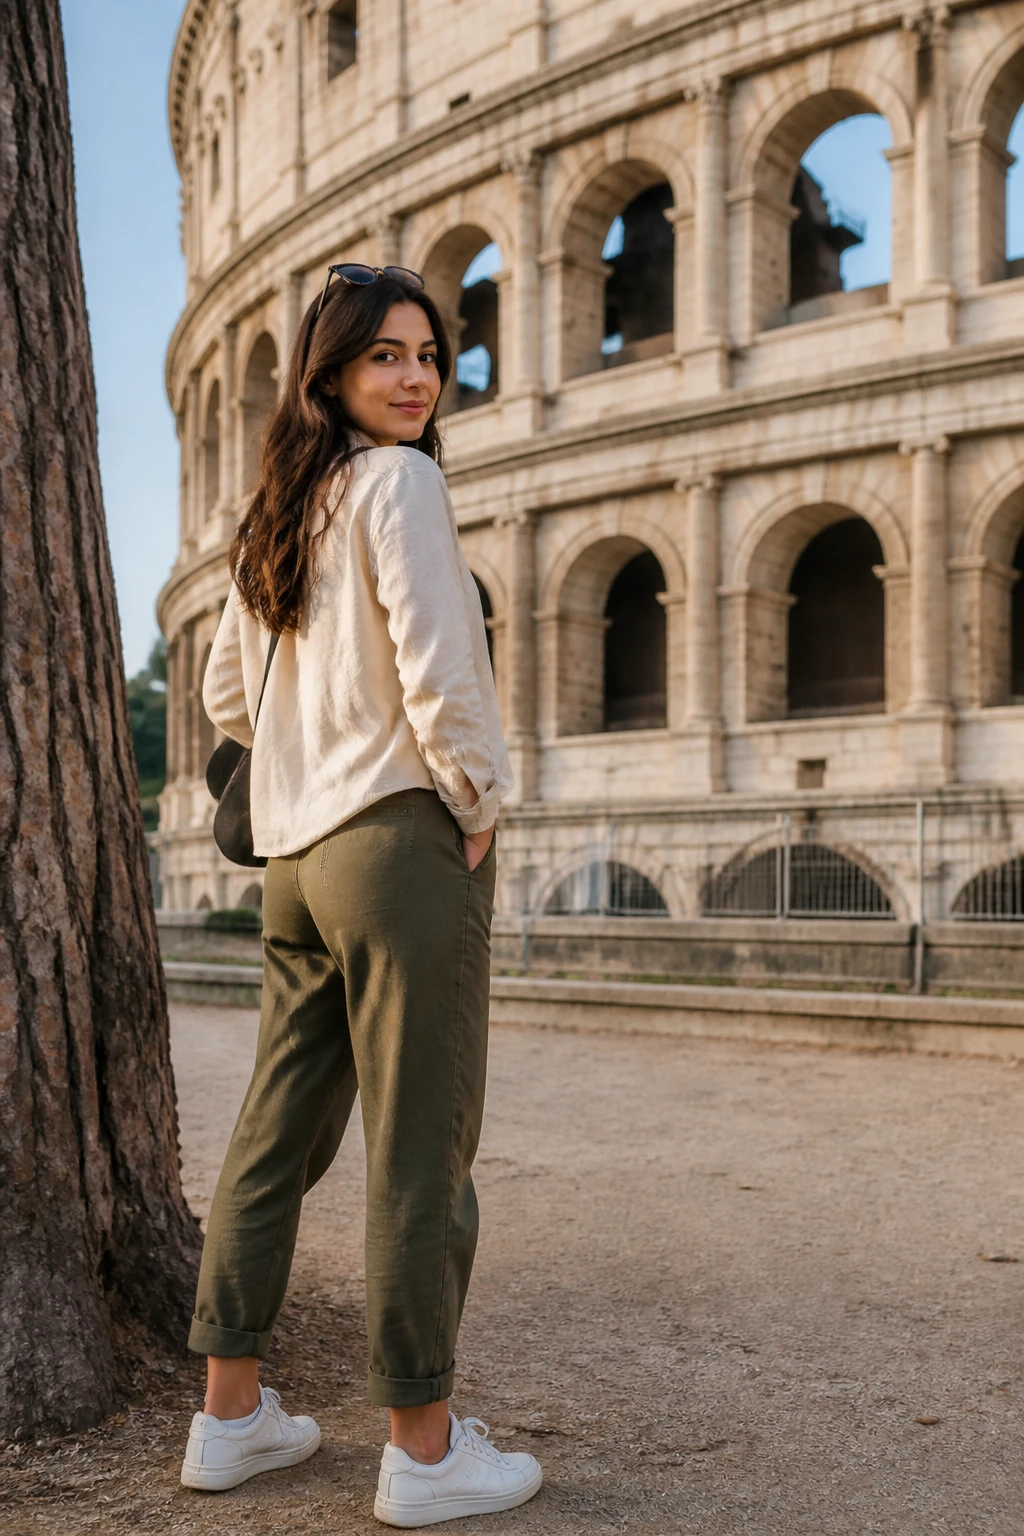
Plant both feet firmly, shift weight to one leg, and pop a subtle hip tilt. This is confident without shouting permanence.
Key Points:
- Feet shoulder-width, hips angled away from the camera.
- Smile or keep a quiet expression depending on vibe.
- Use a nearby landmark or tree as a natural prop.
Benefit: Grounded stance that translates as confident, not stiff.
8. The Self-Contained Silhouette
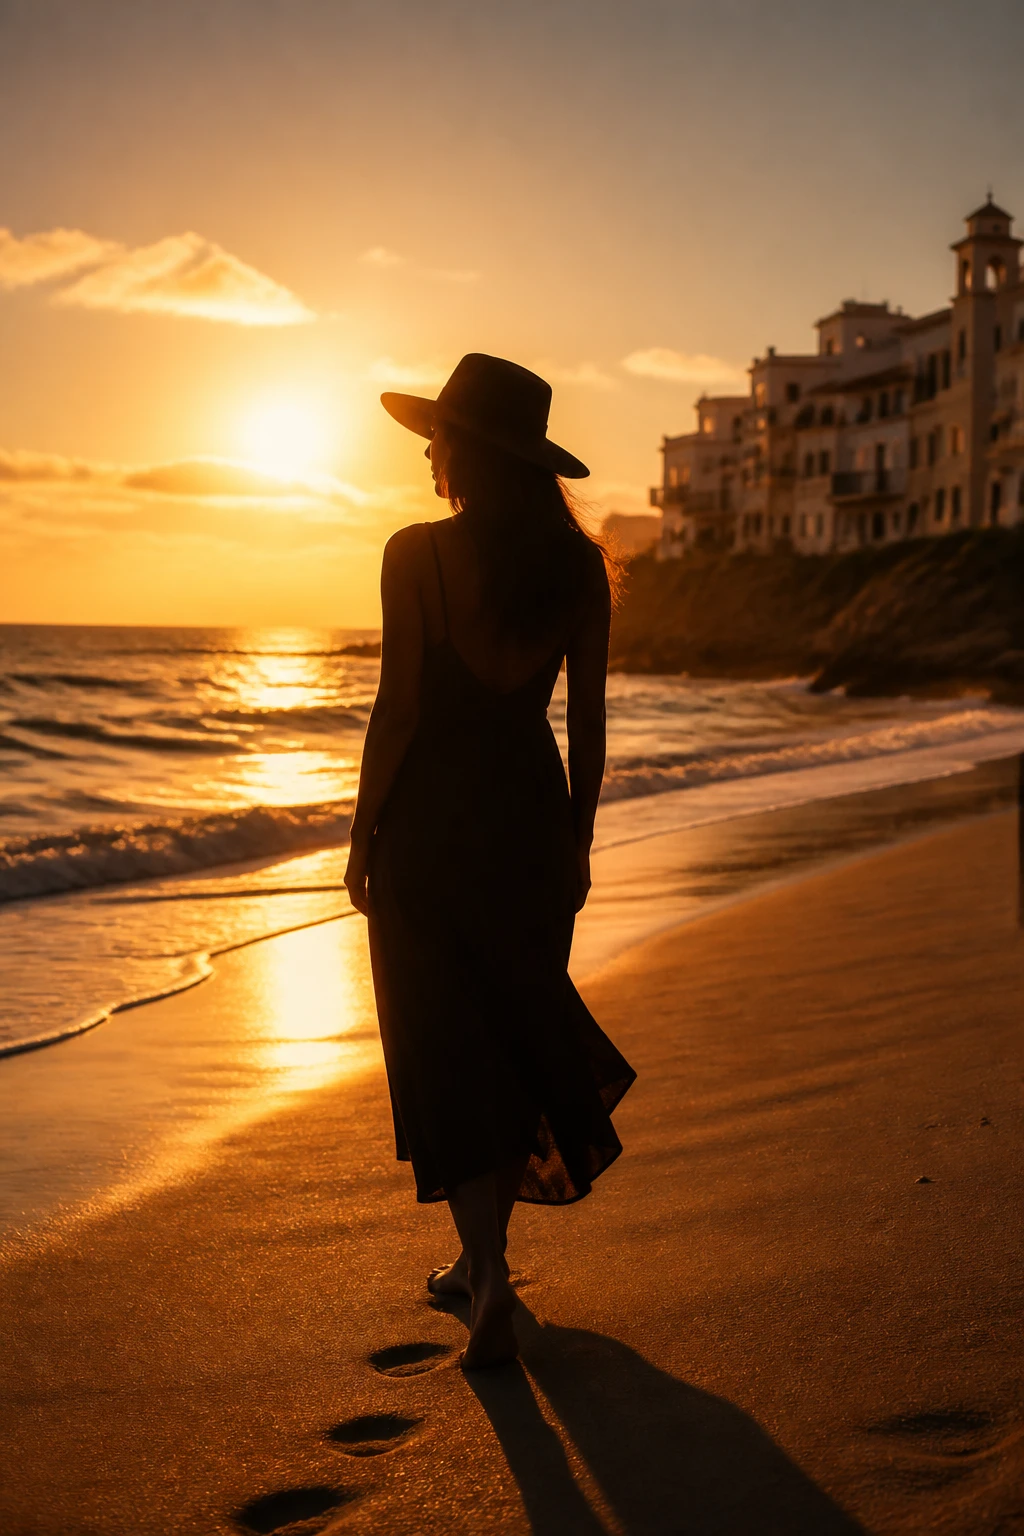
Stand with a slight turn and let the sun or light side silhouette you. It’s dramatic, simple, and forgiving for less-than-perfect weather.
Tips:
- Face toward a light source to illuminate your profile.
- Keep arms relaxed and close to your body for clean curves.
- Use your shadow as a subtle companion in the frame.
Benefit: Beautiful, timeless look that works anywhere from beaches to old towns.
9. The Backpack Frame
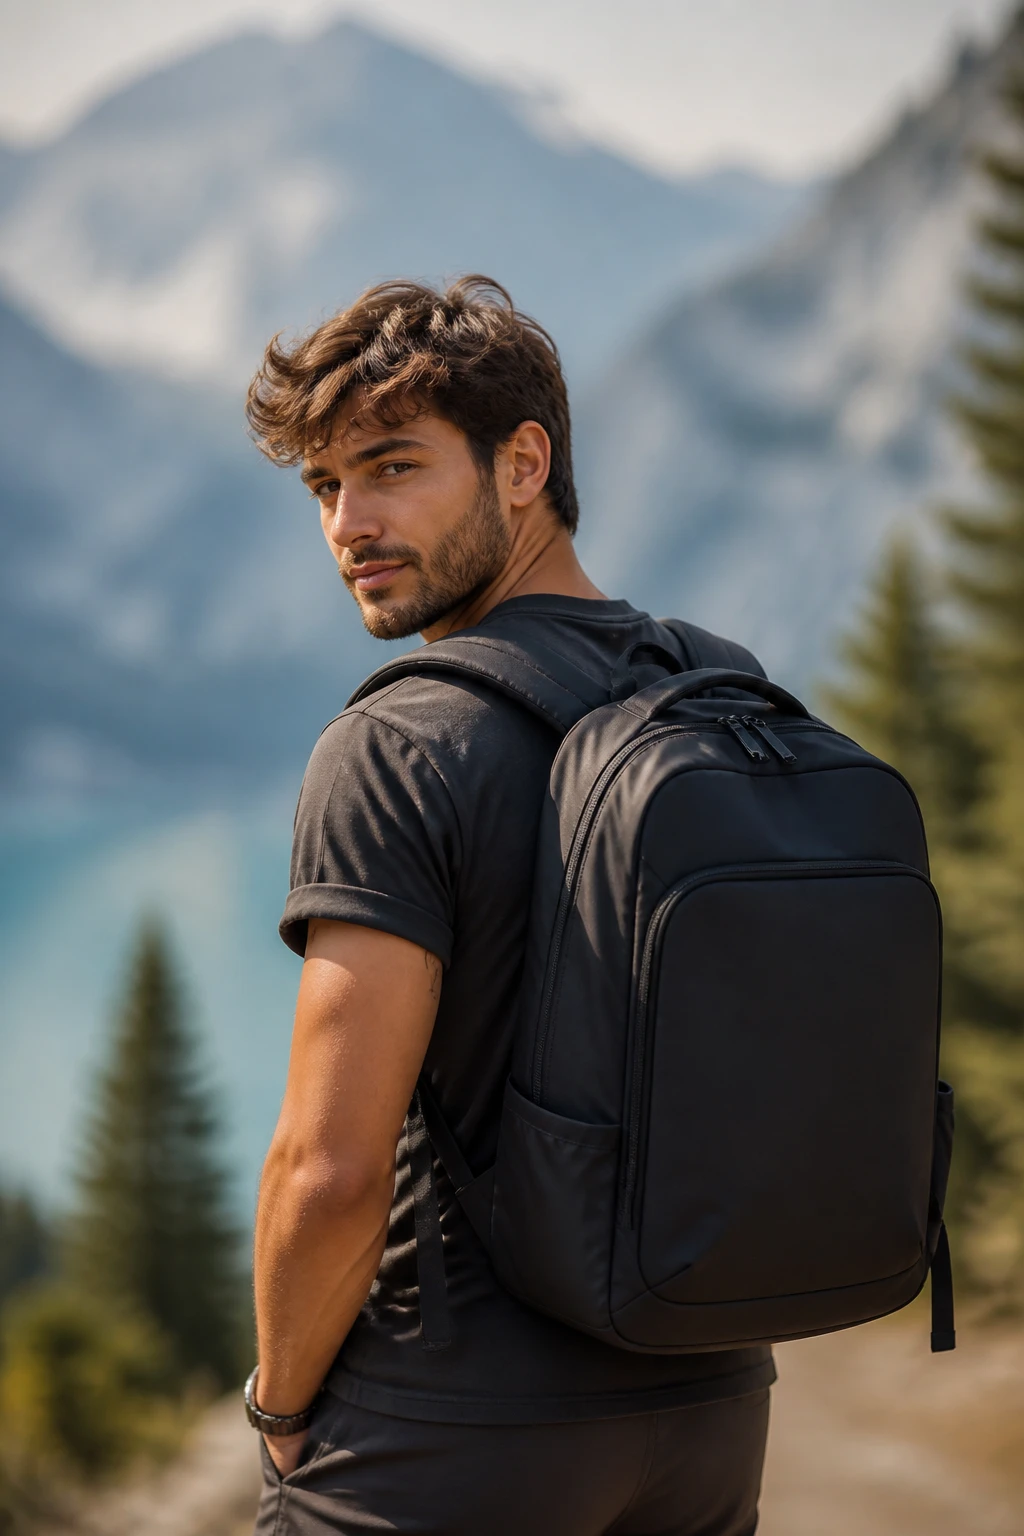
Stand with a backpack on—balanced and ready for a quick action shot. It feels travel-ready and authentic.
Key Elements:
- Tidy zipper area and straps to avoid bulk in frame.
- Chest-level tilt of head adds personality.
- Background should be uncluttered so the backpack pops.
Benefit: A genuine travel vibe that both locals and followers get.
10. The Candid Target Gaze
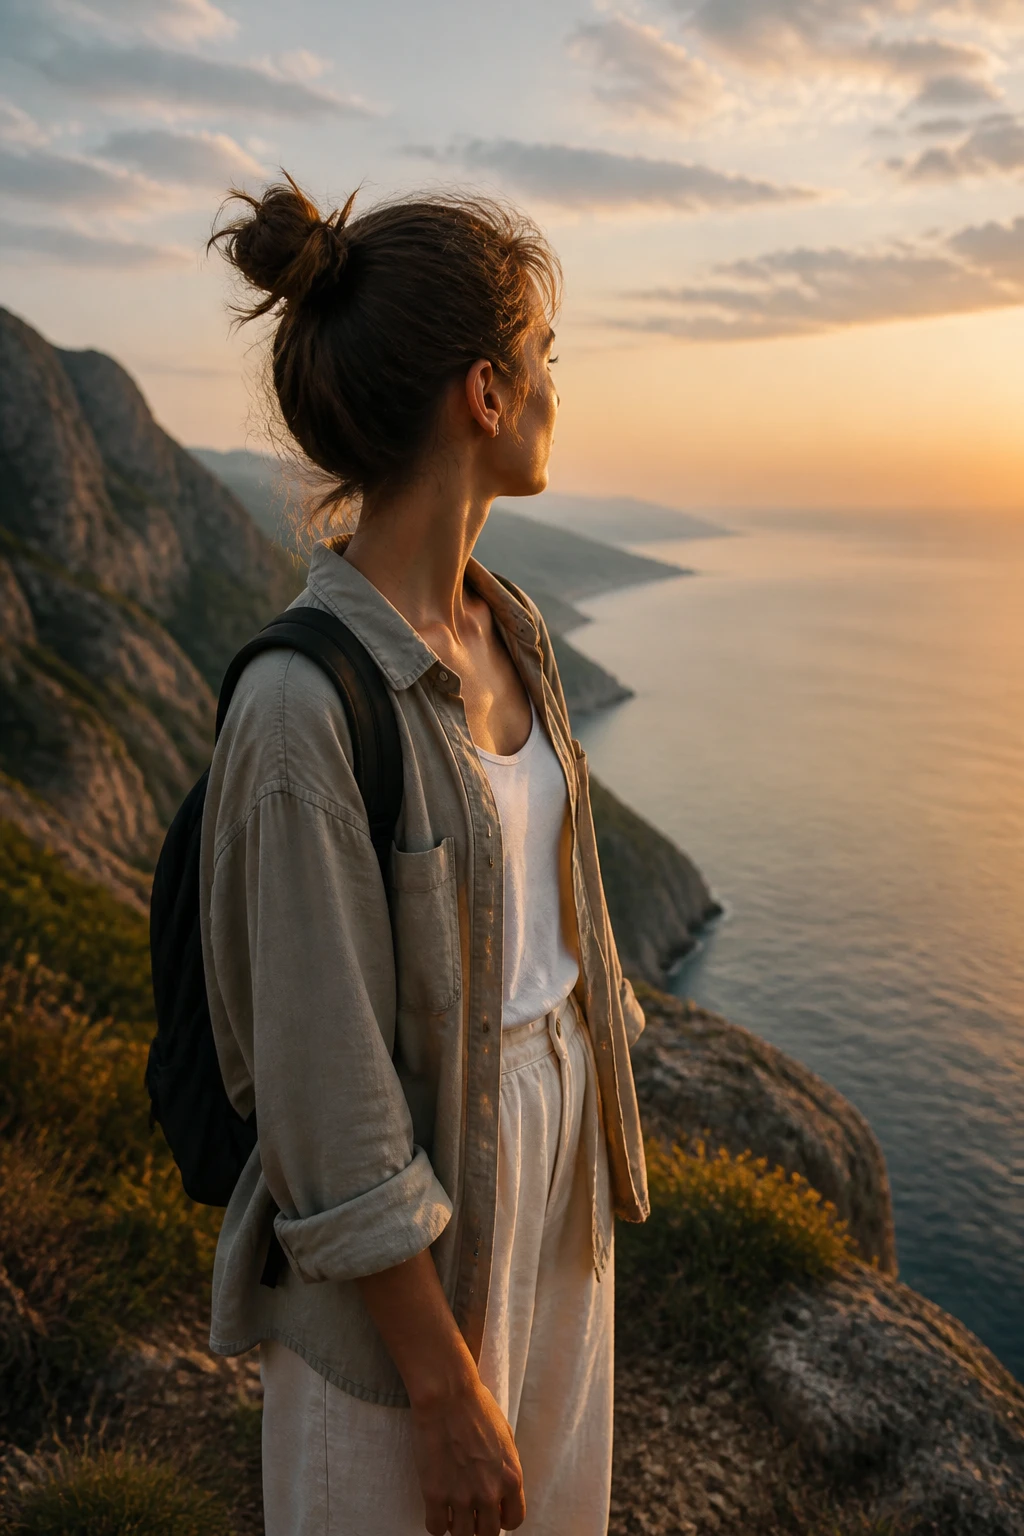
Pick a distant object and gaze toward it, as if your photo is accidentally captured mid-thought. This is basically effortless storytelling.
Tips:
- Elongate your neck slightly for a lean look.
- Relax your jaw; avoid a forced smile that screams “posed.”
- Keep the rest of your body aligned toward the object of interest.
Benefit: A natural, storytelling moment that feels uniquely yours.
11. The Bridge-Found Pose
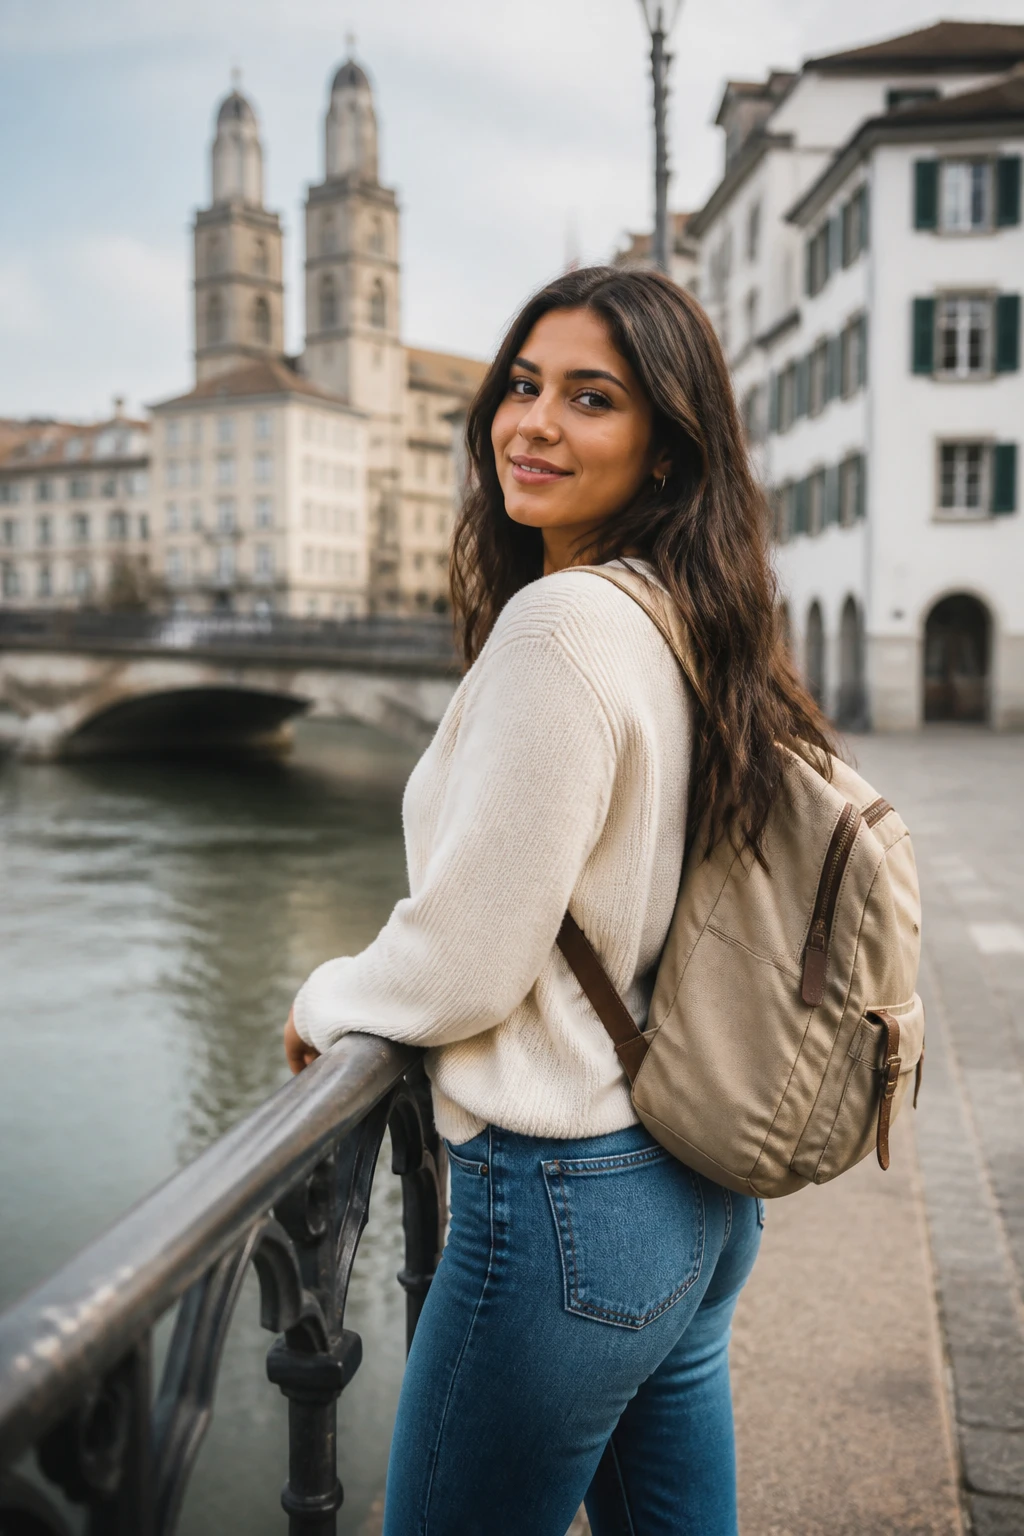
Use a railing, fence, or bridge edge to create a simple silhouette or line that guides the eye through the frame. It’s dynamic without trying too hard.
Key Points:
- Place your hands on rail or let them rest lightly at your sides.
- Alternate weight on each leg for subtle movement.
- Pair with a quick turn to face the camera for a different vibe.
Benefit: Adds architectural context and a sense of place to your photos.
FYI, these poses are designed to be mixed and matched with your surroundings. Trust me, you can rotate them between landmarks, streets, and trails to keep your feed fresh. Seriously, a tiny tweak can turn a stiff shot into a favorite memory.
Conclusion: Ready to try these ideas on your next trip? Pick a couple, practice a quick rotation, and watch your awkward-phobia melt away. Your future photo archive will thank you—and so will your friends who finally get actual smiles in travel pics.